Tuesday, September 27, 2022

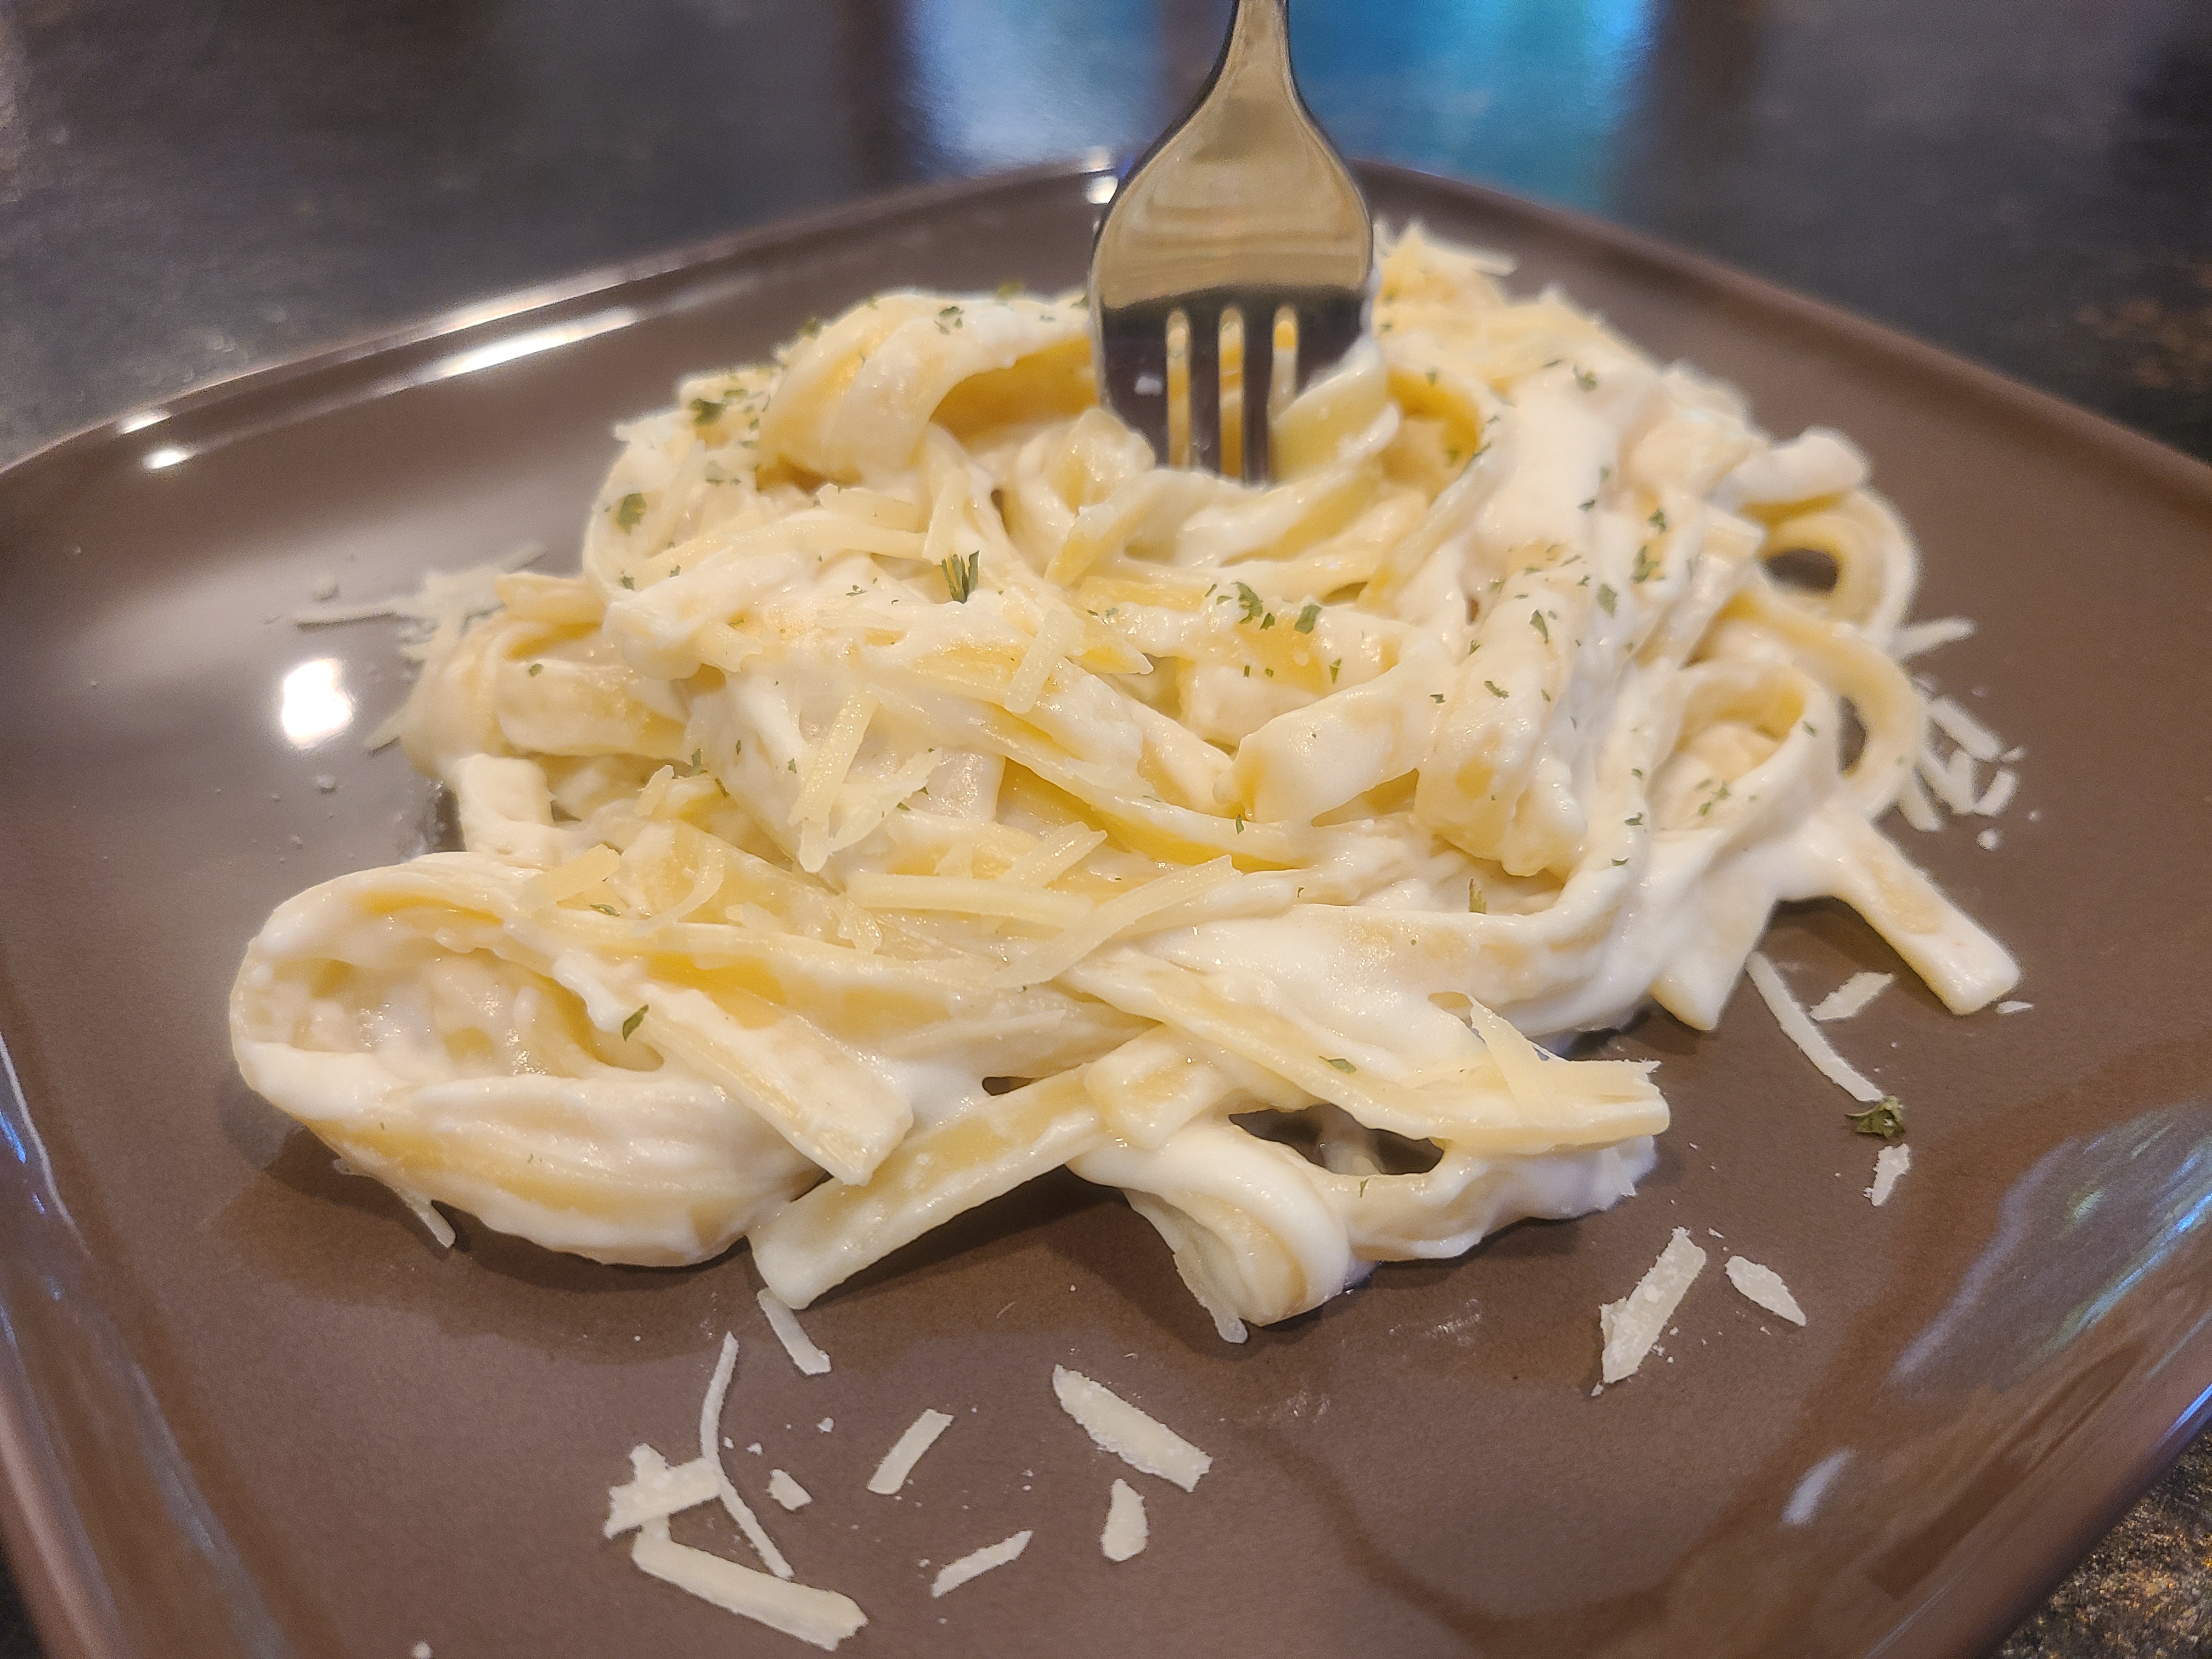
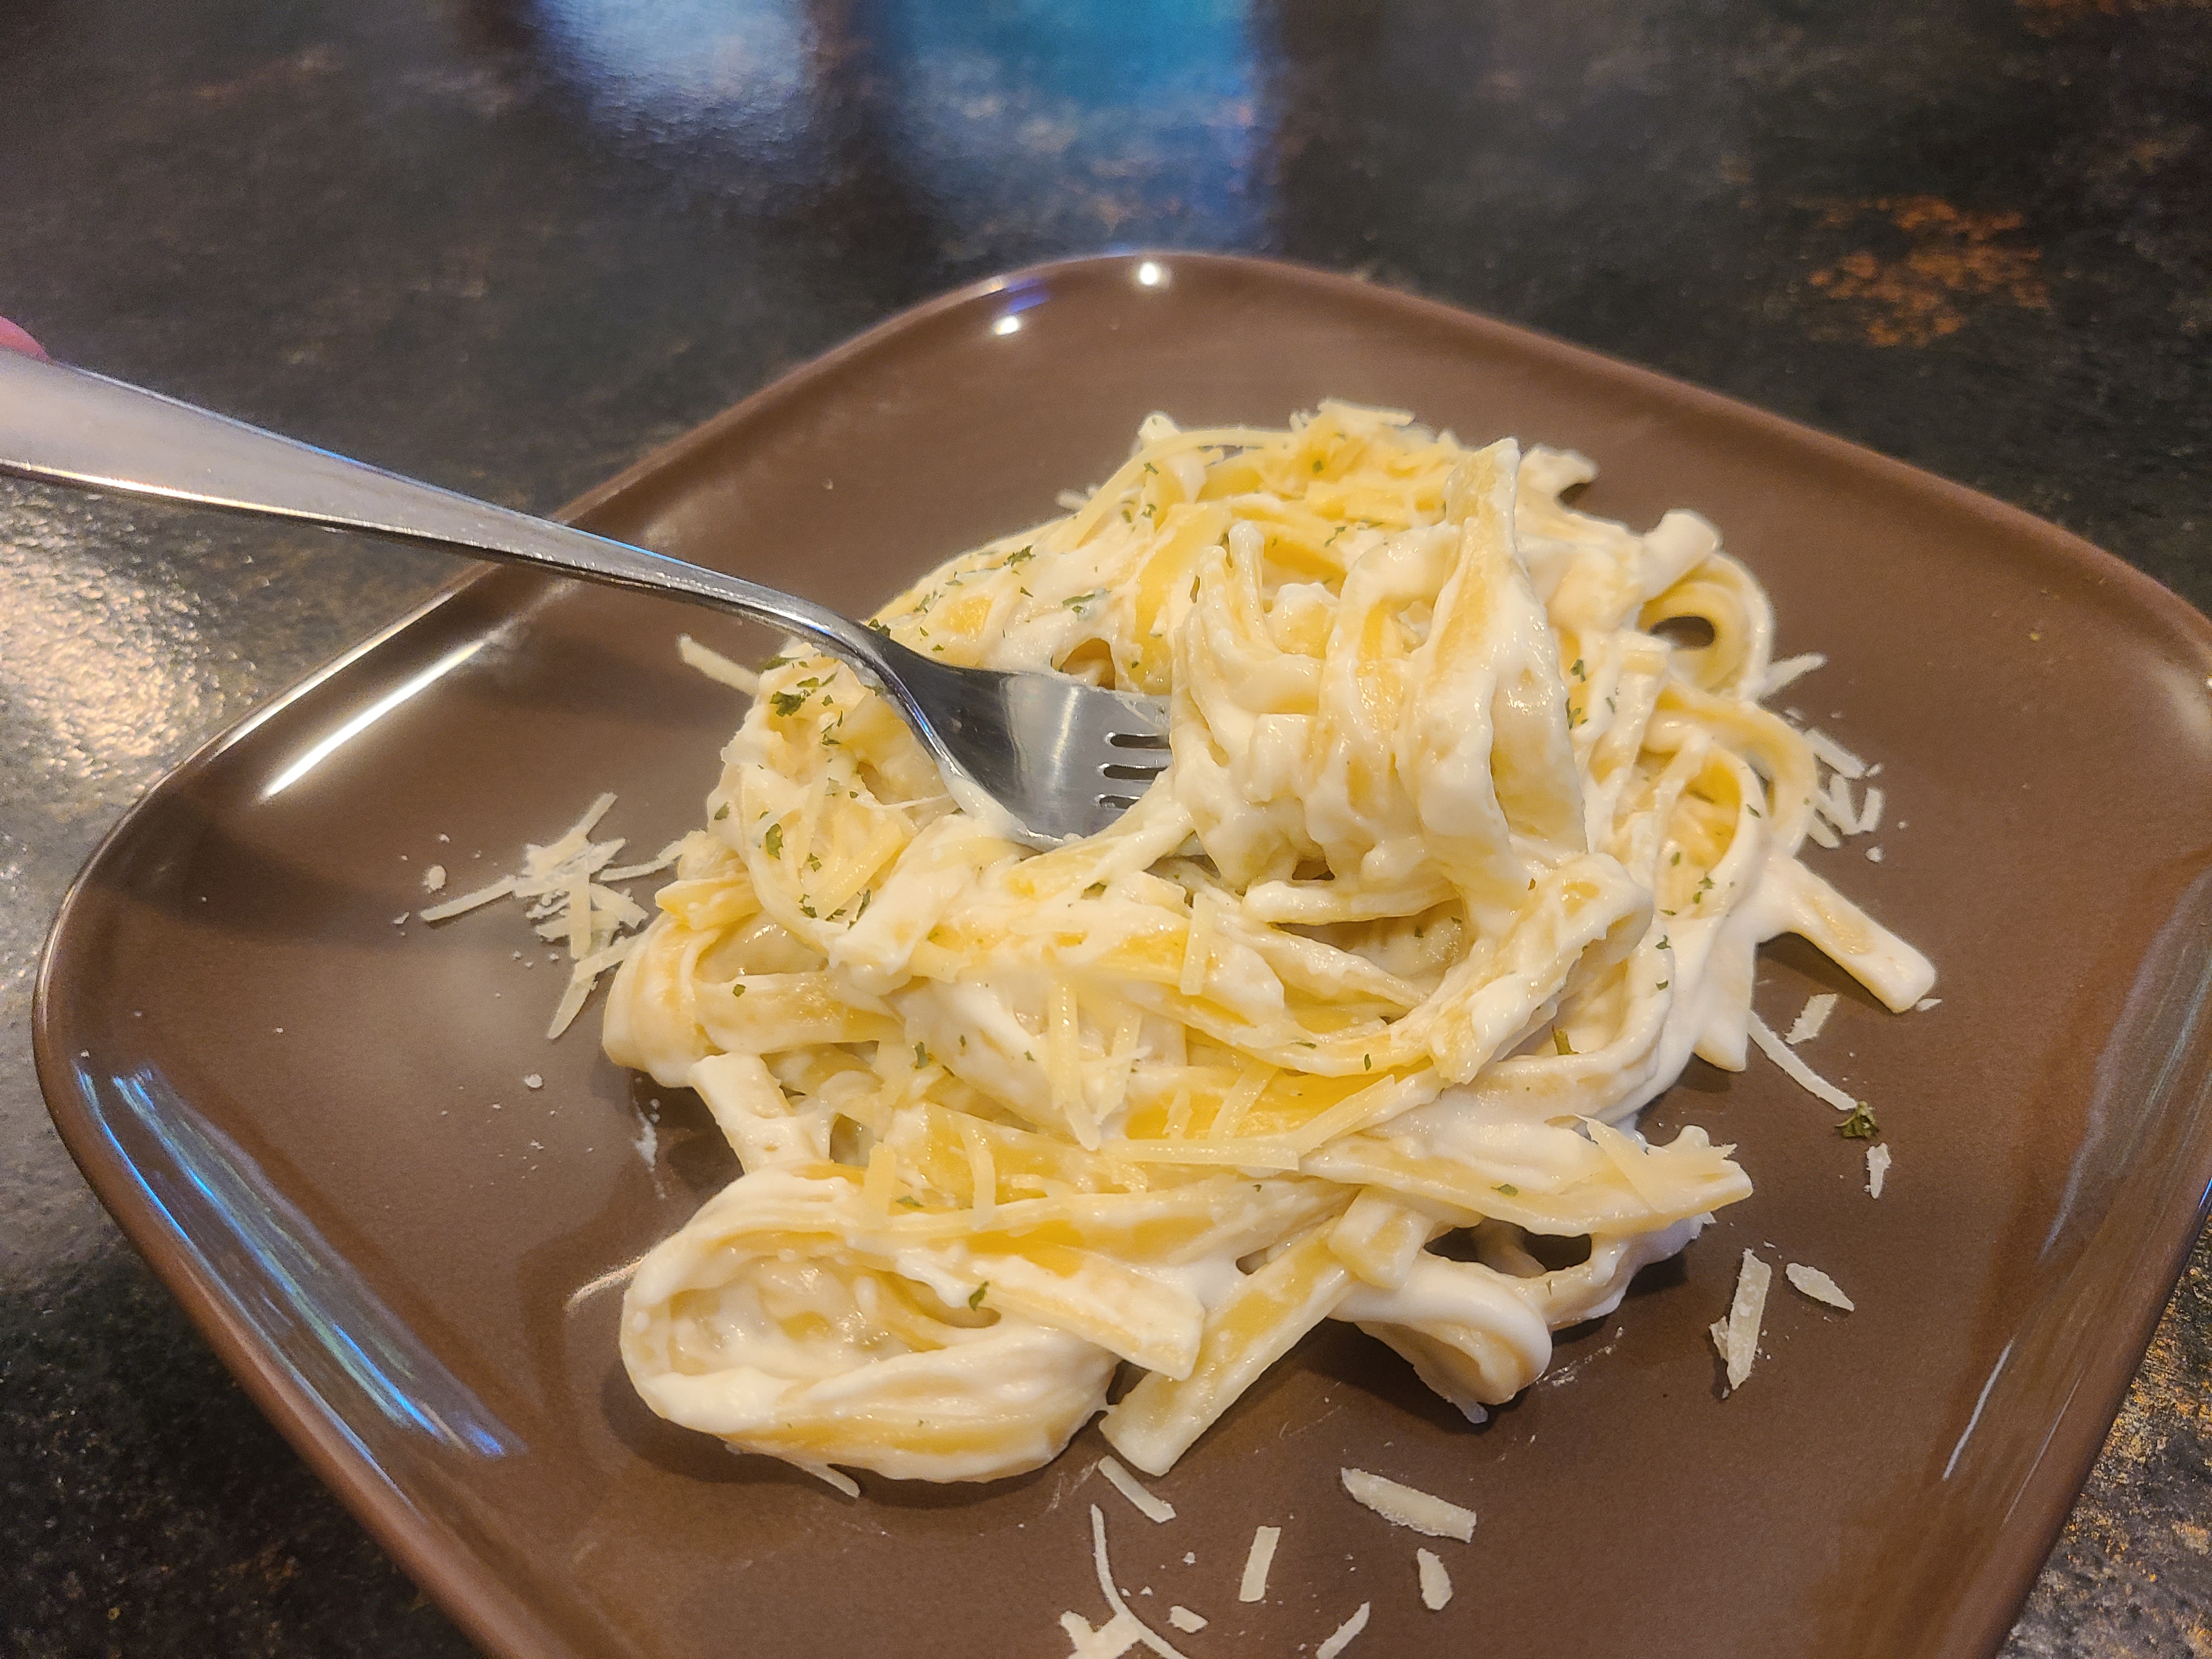
Fettuccine Alfredo (lightened up!)


Every year, our middle child requests this for her birthday dinner. After finding this recipe many years ago, and making it every September, I decided it was high time to share the recipe with you!  


If you love fettuccine alfredo, but not the heaps of cream and butter that go with it, this recipe is for you. It has all the creaminess and yumminess of the regular version, with a lot fewer calories and fat. Honestly, no one in my family has ever questioned if this is "normal" fettuccine alfredo - they all just rave about how delicious it is!  (I guess the secret is out now, ahem.)


Instead of using all heavy cream, you start with a roux and then later add in a little cream cheese and (obviously) plenty of Parmesan. We love this topped with grilled chicken with a big salad or green vegetable on the side. And it's even better if you can eat outside! 


So have your pasta and eat it too! You won't feel sorry with this great version of lightened up fettuccine Alfredo. 


Fettuccine Alfredo (light)

8 oz. dry fettuccine
1 1/2 Tbsp. butter
1 1/2 Tbsp. flour
1 1/4 cups milk
2 Tbsp. heavy cream
1 tsp. lemon juice
1/2 tsp. salt
1/2 tsp. garlic powder
1/3 cup fresh shredded Parmesan
2 oz. light cream cheese (Neufachatel), diced

Cook the fettuccine in a large pot of boiling water until al dente. Meanwhile, in a medium saucepan over medium heat, melt butter, then add flour and whisk until fully combined. Gradually add in milk, whisking constantly, until smooth. Stir in cream, lemon juice, salt and garlic powder. Whisk constantly until sauce begins to thicken and gently bubble.

Reduce the heat to low, add in the Parmesan and cream cheese, and stir until the cheese has melted. If the sauce become too thick, you can add a few spoonfuls of the hot pasta water. Drain pasta well, but do not rinse. Pour drained pasta into sauce and toss evenly to coat. Garnish with parsley and more Parmesan. Serves 4. 

Recipe source: Adapted from Cooking Classy

Wednesday, August 24, 2022

Chicken Dijon


I love finding new ways to prepare chicken. And since I found this recipe, I've made it several times already. I especially like that the vegetables can cook alongside the chicken. It makes for an easy supper, one that almost seems too fancy for a weeknight! 


This is a simpler take on a classic French dish, but the simplicity doesn't mean the delicious factor decreases at all. The lightly pan fried chicken swimming in a delicious creamy mustard sauce, with crispy green beans on the side, is enough to make you start speaking in a French accent. Oiu! 


We enjoyed this with some roasted potatoes as a side. Any kind of potato would work well here; mashed might be nice cause you can use the sauce as a gravy. That's probably not very French, but it is yummy.


So go ahead, expand your chicken repertoire and impress your friends and family with this delicious dinner!


Dijon Chicken

1/4 cup flour
2 1/2 tsp. minced fresh rosemary
4 chicken cutlets, 1 pound total
1 tsp. salt
1/2 tsp. pepper
2 Tbsp. olive oil
1 Tbsp. butter
1 1/2 cups white wine or chicken broth (or a combination)
2 Tbsp. Dijon mustard
2 cloves garlic, minced
1 cup half and half
1/2 pound fresh green beans, trimmed

Combine flour and 1 1/2 teaspoons rosemary in a shallow bowl. Season chicken cutlets with salt and pepper and dredge in the flour mixture, shaking off the excess.

Heat 2 tablespoons olive oil and 1 tablespoon butter in a large skillet over medium high heat until the butter starts to foam.

Cook the chicken 2 to 3 minutes on each side, or until golden brown. Remove to a plate. Add minced garlic and 1/2 cup wine or broth to the skillet and stir to deglaze the pan. Stir in the remaining wine, half and half, and mustard. Bring the mixture to a boil, then reduce heat to medium low and let simmer 2 minutes.

Return the chicken to the skillet, nestling it into the sauce, and sprinkle with the remaining minced rosemary. Add the green beans and coat with with the sauce as much as possible. Continue cooking on medium low heat for 10 to 12 minutes, or until the chicken is done and beans are tender. Serves 4. 

Monday, August 15, 2022

Hawaiian Stir Fry


Stir fries are one of my favorite ways to get lots of vegetables into one meal, and also have a super fast, easy, delicious, dinner. This one is particularly fun due to the addition of pineapple, which adds great color and sweetness to the dish. 


I made this with chicken but I think pork tenderloin would be another good option. You can also vary the green vegetables based on what you have on hand - although I am sure many of you are "swimming" in zucchini right now, and this is a great way to use it!


Once your chicken, vegetables and pineapple are all sliced up, this comes together quickly. 


You should definitely start cooking the rice while you're chopping, otherwise you'll be waiting for it!  This is a great meal to make in the summer that won't heat up your kitchen, and is light and refreshing to boot. It's also great for when school starts and you need a quick dinner between school/work and sports or evening activities.  Enjoy!


Hawaiian Stir Fry

4 teaspoons olive or vegetable oil, divided

1 medium red onion, halved lengthwise and sliced

1 cup zucchini, sliced into thin, bite-size strips

1 cup fresh snow peas or pea pods

4 oz. fresh mushrooms, cleaned and sliced

2 chicken breast halves, cut into thin bite-size strips

1 cup fresh pineapple cubes

6 tablespoons stir-fry sauce, plus more for serving

In a large skillet over medium high heat, warm half of the oil til sizzling, then add the chicken pieces. Cook, stirring constantly, until just barely cooked through, 3-4 minutes. Remove to a bowl.

Heat the rest of the oil in the pan over medium high heat, then add the onion slices, mushrooms, peas and zucchini. Cook and stir until the onions start to wilt and the zucchini and peas are al dente, only about 3 minutes. 

Reduce heat to low; add chicken to pan along with pineapple. Drizzle the stir fry sauce over the top and stir well to coat all the meat and vegetables.

Serve over rice with additional sauce. 

Monday, June 20, 2022

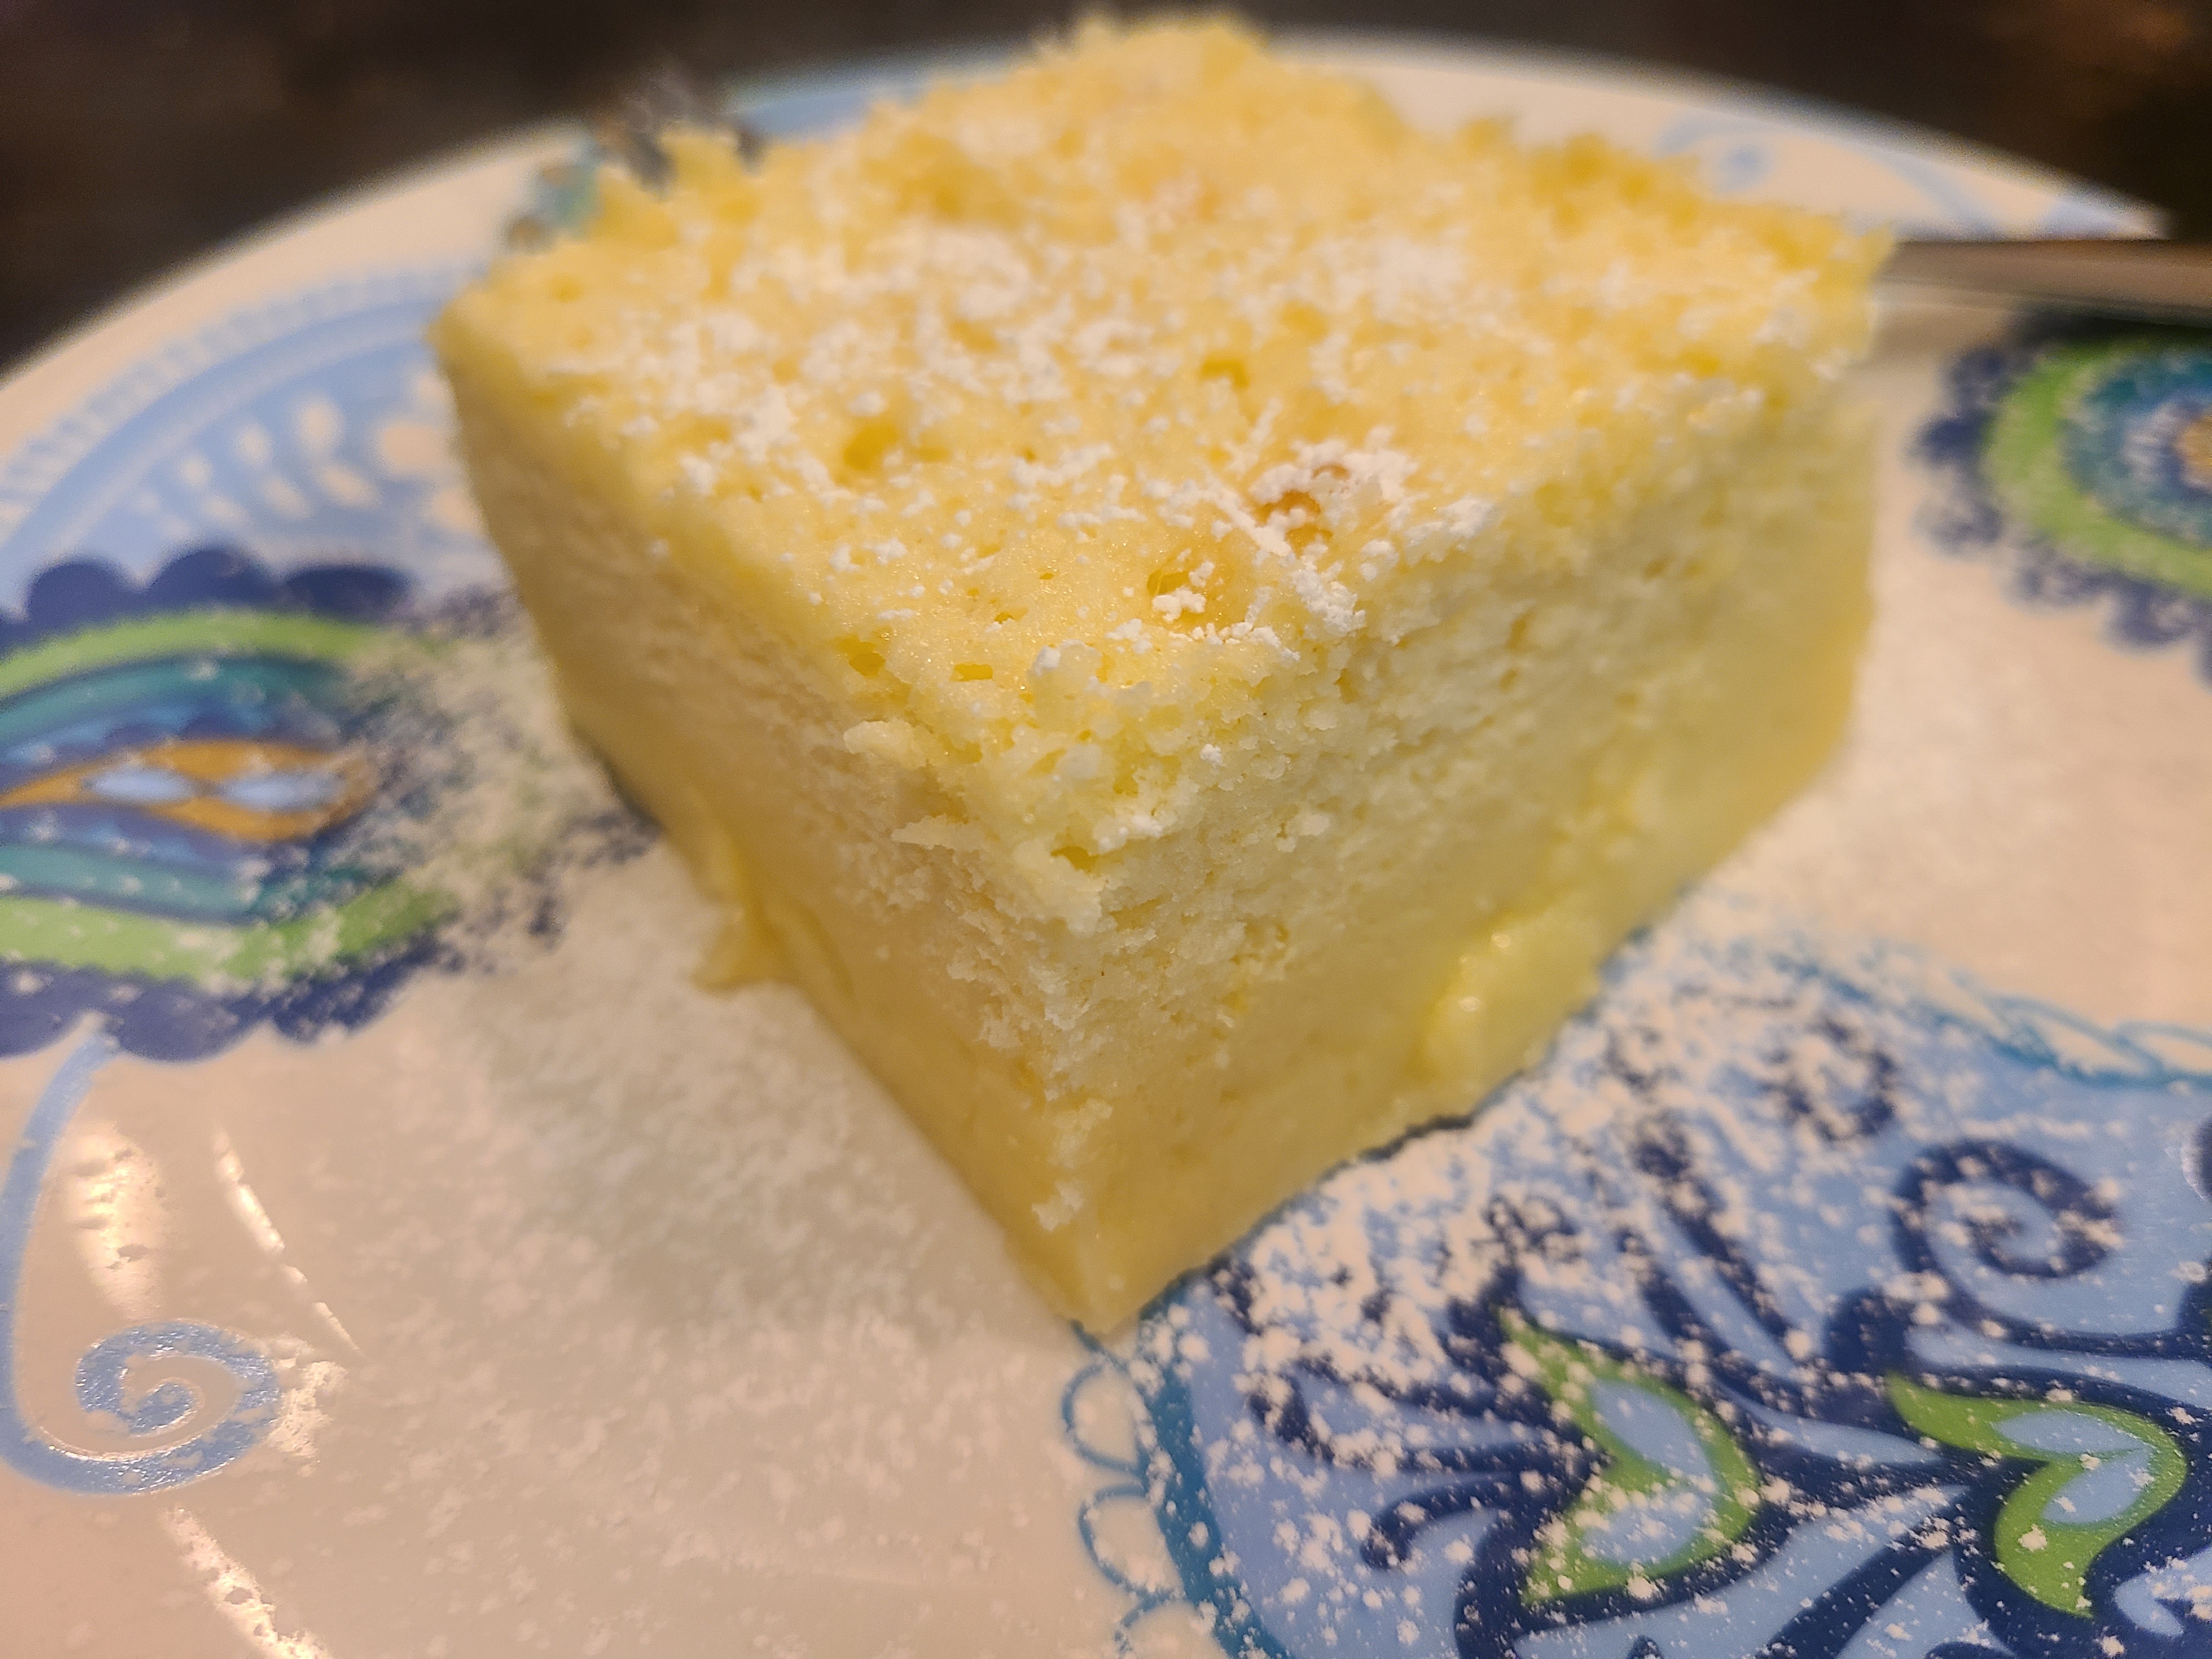
Lemon Custard Cake


Oh my goodness, no new posts since Mother's Day. Yikes. Life is just life sometimes, right? But today I have a great recipe for you, especially for those that love lemon. 


This lemon custard cake is a breeze to make, and tastes so summery! While it bakes, it separates into a custardy layer and a cake layer, and I love the airy texture.

It's pretty hot already here in Minnesota, but hopefully a cool down is coming to your neck of the woods so you can turn on the oven and make this delicious cake. 


Lemon Custard Cake

4 eggs at room temperature

3/4 cup sugar

1/2 cup butter, melted

1 Tbsp. lemon zest

1/4 cup lemon juice

3/4 cup flour

2 cups milk, lukewarm

Separate the eggs, putting the yolks in a large bowl. Add the egg whites to the bowl of a stand mixer and beat until stiff peaks form. Set the eggs whites aside.

Add the sugar to the bowl with the egg yolks and whisk until well combined. Add the melted butter, lemon zest and lemon juice and whisk once again. Gradually add the flour, whisking well in between each addition, then repeat with the milk.

Gently fold the egg white into the egg yolk mixture. Pour the batter into a greased 8 or 9-inch square baking pan and bake at 325 for 45 minutes or until the cake is golden. Allow to cool in the cake pan completely. 

Remove individual pieces and dust with powdered sugar before serving. Refrigerate any leftovers.


Monday, May 2, 2022

Mini Meringues with Lemon Curd


This is a fantastic spring dessert, perfect for the next upcoming holiday, Mother's Day!  I made these for Easter and they were a wonderful light ending to a big meal. If you're cooking for your mom on Mother's Day, this is the perfect dessert. This dessert is also gluten free so it is great to have in your back pocket if you have guests with that sensitivity.


The sweetness of the meringue is tempered by the tartness of the lemon curd. Then there's the crunch of the meringue contrasted with the smooth lemon curd. But one of my favorite things is that since meringue uses egg white, and the curd uses the yolk, there's no egg waste! This is a far cry of a favorite thing compared to the TASTE of this dessert, but still - there are lots of good reasons to make this.

If you've never made meringues before, or a pavlova, it's not too difficult. You just have to be patient as you whip the egg whites. If you have a stand mixer, this will be a snap. If you're using a hand held electric mixer, you will get a work out. In the end you will have beautiful meringue shells like these. I didn't work to get them too identical or perfect - so another Great British Baking Show fail - but it doesn't really matter. 


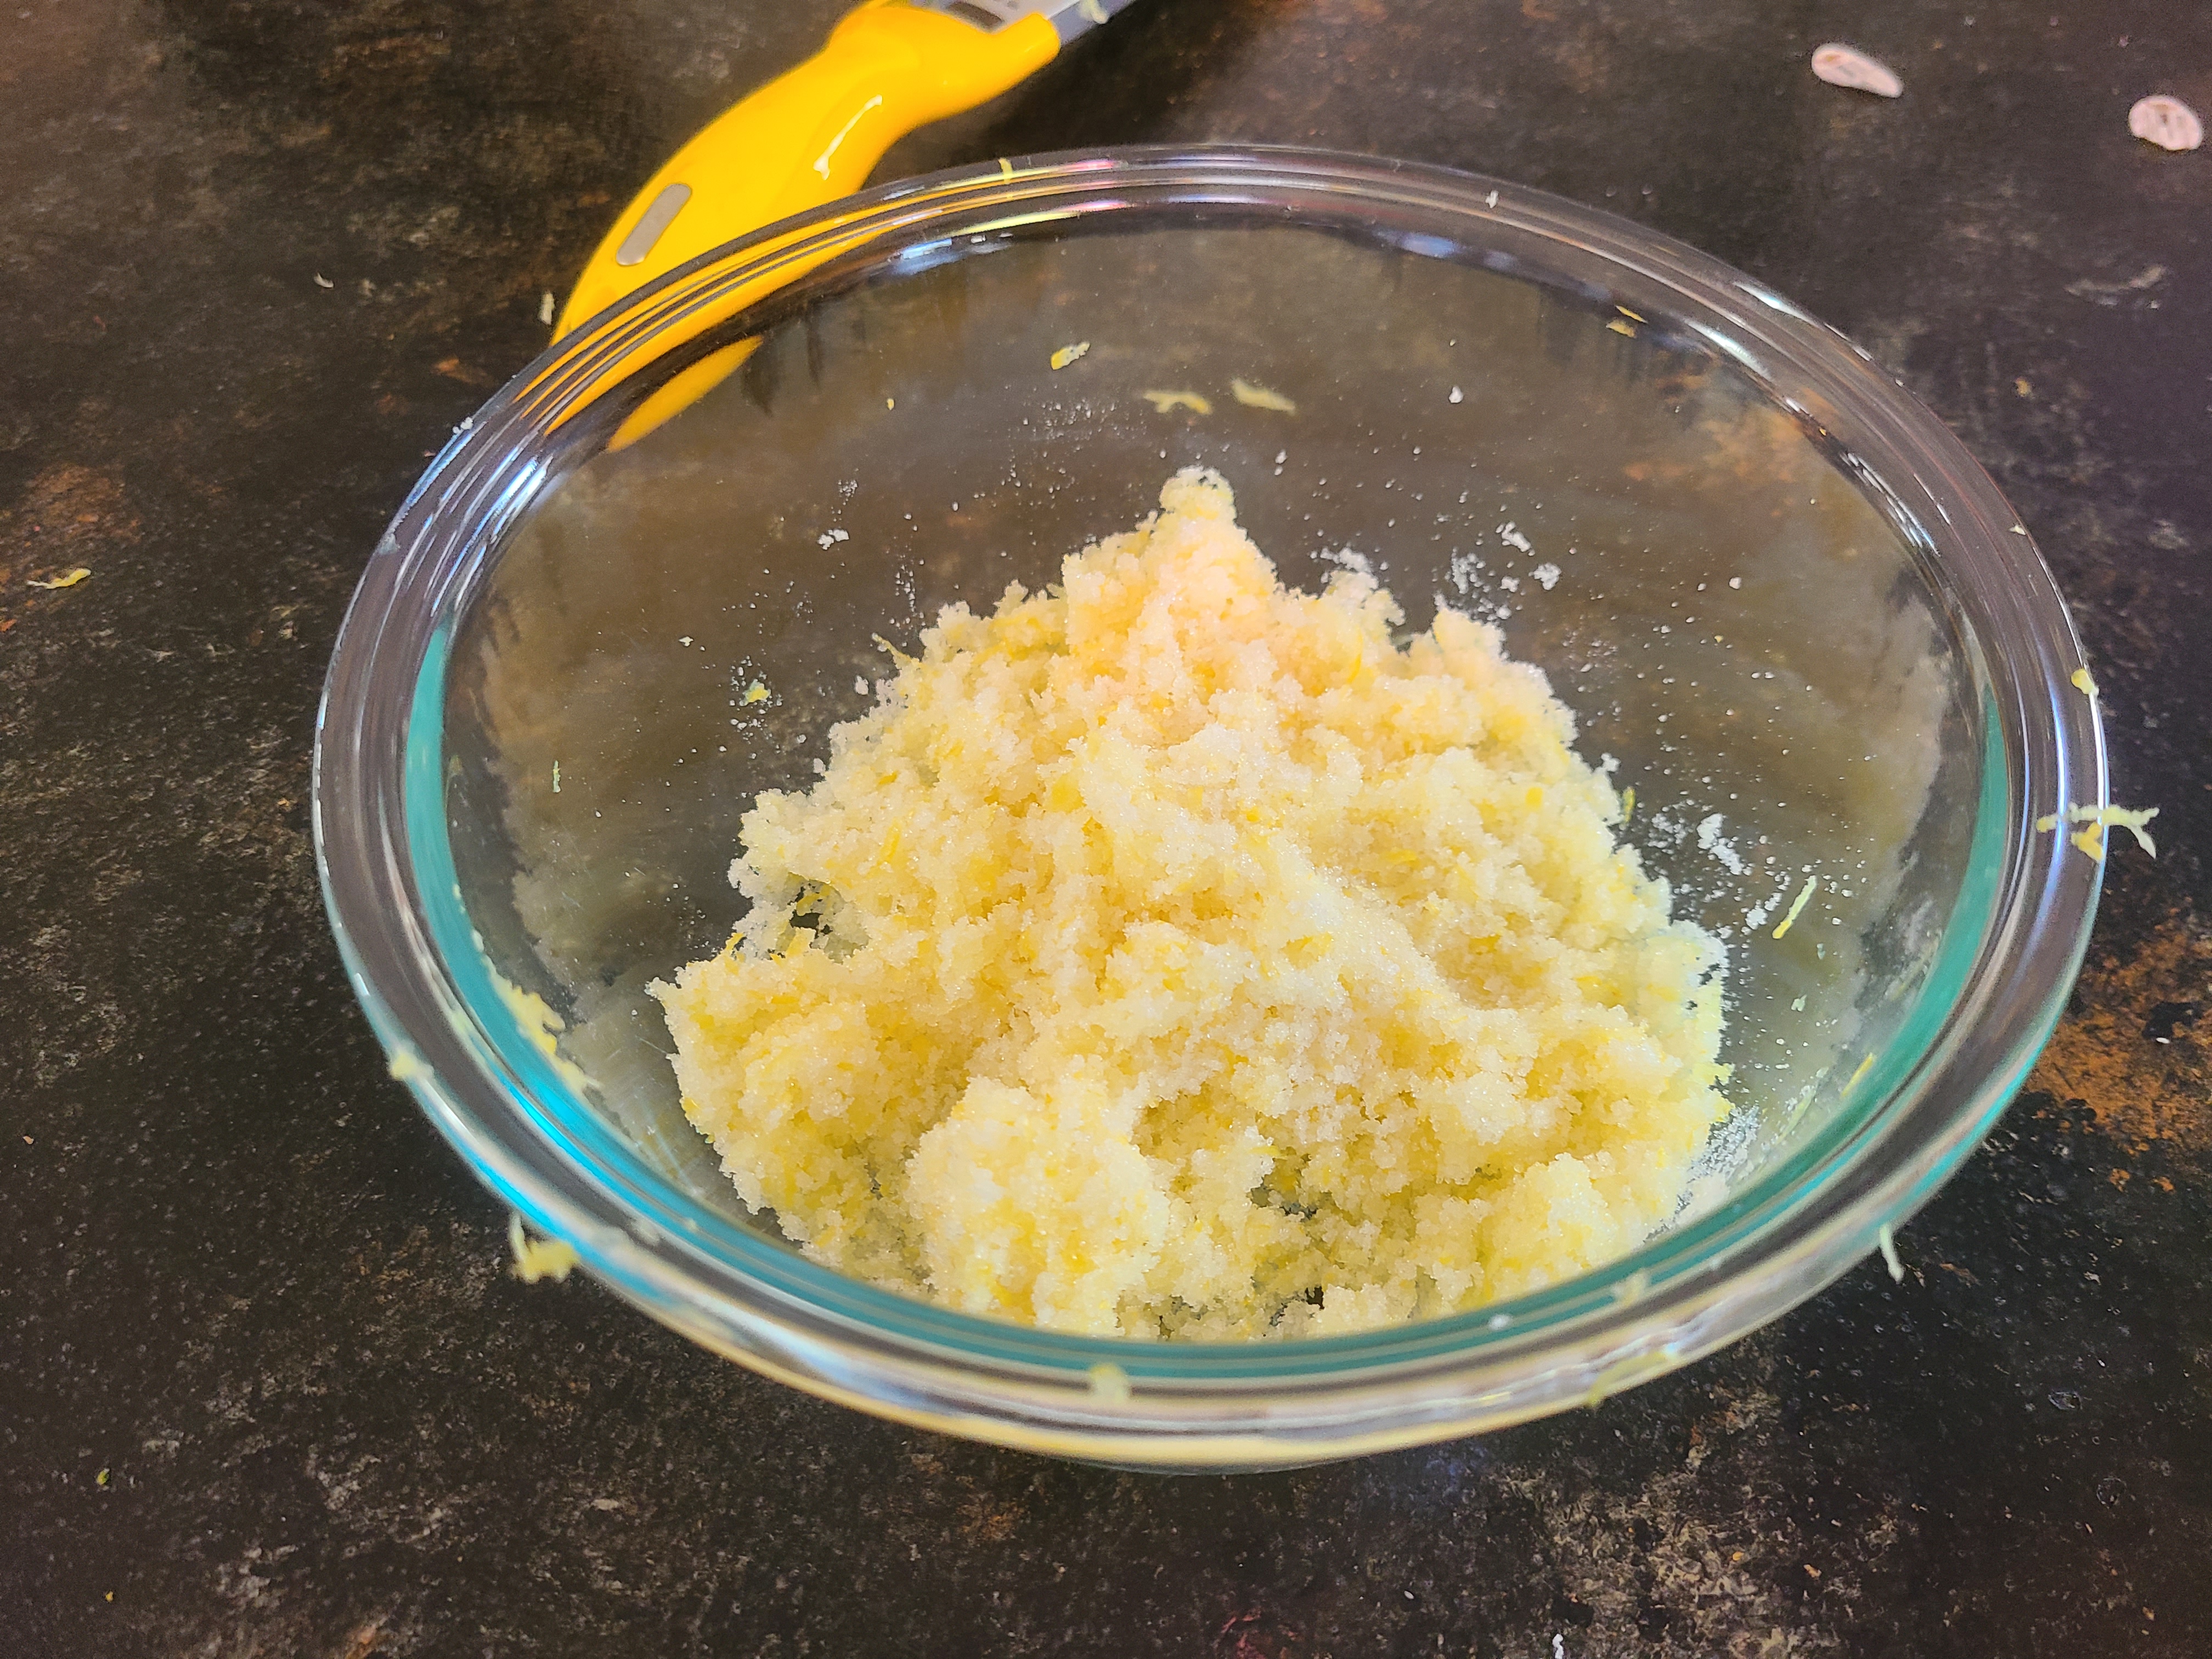
Making the lemon curd is not difficult, but again, patience is required. First you'll zest the lemons into the sugar.


Then you'll massage that zest into the sugar for maximum flavor, and it will look like this:


Add the egg yolks,


and whisk until smooth. What a beautiful color this is!


Now cook the curd over boiling water until it coats the back of the spoon - don't let it simmer - this will take about 15 minutes. 


Finally, press the curd through a sieve so that the bigger chunks of zest are left behind. I like a few flakes of zest so I pressed a lot of it through.


Oh my goodness, this is SO GOOD! I could have just eaten it straight out of the bowl. 


But I didn't. I saved it overnight and then made these cutie pies the next day. So cute! So delicious!


Enjoy!


Mini Meringues with Lemon Curd


Meringues:

4 egg whites

1/8 tsp. salt

1 cup sugar

1 1/2 tsp. cornstarch

1 tsp. white vinegar

1 1/2 tsp. vanilla


Lemon Curd:

2 large lemons

3/4 cup sugar

4 egg yolks

3 Tbsp. butter


Assembly:

cool whip or freshly whipped cream


For the meringues:

In a small bowl, combine the salt, sugar, and cornstarch. Beat the egg whites on medium/low speed until they begin to thicken, then increase the speed to medium.  With the mixer running, sprinkle in the sugar mixture a small amount at a time. Beat for another minute or two once all the sugar is added, then add vinegar and vanilla. Continue to whip the mixture until the egg whites are glossy, and stiff peaks form.

With a 1/4 cup measuring cup, scoop meringue batter in generous dollops evenly spaced over two cookie sheets lined with silpat or parchment paper. Use the back of a spoon to create an indentation in the center of each. 

Bake at 250 for 35 to 45 minutes, rotating the pans once halfway. When ready, the meringues should feel firm and dry, should give slightly when pressed gently. Turn off the oven and let them dry inside the oven for at least 1 hour.

In the meantime, make the curd: 

Find a heatproof bowl that will fit over a saucepan (double-boiler style). Add the sugar to the bowl then finely grate the zest of both lemons into the sugar. Massage that sugar and peel combo with your hands to release a lot of the flavor. Then, add the juice of both lemons and egg yolks and whisk to combine. Bring an inch of water to boil in the saucepan, then set the bowl over it. Cook, stirring, until the mixture begins to thicken and coats the spoon or whisk (between 170 and 180°).  This will take some time - mine took between 15-20 minutes. Don't let the curd simmer. Remove from the heat, add butter and stir, then strain the curd through a fine-mesh sieve. Cover the curd and let it cool completely. Then refrigerate until assembly. 

When ready to serve:

Place a small dollop of the lemon curd into each meringue indentation. Top with cool whip or freshly whipped cream, or berries. (or both!) 

Meringues can be kept on the countertop in an airtight container for about 5 days before starting to taste "old." The curd keeps in the fridge for quite a while, but it probably won't last that long, as you'll want to eat it with a spoon if you've run out of meringues...


Recipe Source: Smitten Kitchen


Monday, April 18, 2022

Spinach and Feta Stuffed Chicken {Greek Chicken}


You guys! This chicken is SO good. And (relatively) so easy. And it is super impressive, so it's great for when you have company. Or for when you just want a healthy and delicious dinner. 


This chicken is stuffed with fresh spinach, black olives, mozzarella and feta, then covered in salt, pepper and paprika and baked. That's all there is to it! Well, sort of. You do have to butterfly the chicken in order to "stuff" it - and that can be a little tricky. But luckily, once it bakes, it really doesn't matter how good of a job you've done butterflying it. Really! I practically destroyed some of the breasts in the picture above, and you can hardly tell. So it's super forgiving. (Look closely and you can see the cheese oozing out the top of a few pieces - those were terribly butterflied but it didn't matter!) 


I like to pound out the chicken first to get them all to a uniform thickness, and then I usually cut them in half (what is it with gigantic chicken breasts?? I feel badly for those birds. ha!) and then butterfly them. If you've never done that before, you simply cut into the chicken breast the long way, "sawing" carefully, to create two thin sections. Then open it like a book, add the filling, and close it back up. Even if you have shreds for a top layer (which I did sometimes!) it will bake up just fine. 


This dish is lovely with a cucumber salad (not pictured here cause it runs all over the plate!) or with some roasted potatoes and sauteed green beans. I hope you love this as much as we do. And let me know how your butterflying goes! :)

Spinach and Feta Stuffed Chicken

3 large or 6 small chicken breasts
8 oz. fresh baby spinach
1 tsp. olive oil
2 cloves garlic, minced
4 oz. feta crumbles
1/3 cup sliced black olives
1 cup mozzarella cheese
salt and pepper
paprika

In a large skillet, heat the olive oil over medium heat. When it's hot, add the spinach and garlic, and cook, stirring constantly for about 2 minutes until the spinach is wilted.

Pound out the chicken breasts with a meat mallet to make them even thickness/ If you're using large chicken breasts, cut them in half. Carefully butterfly each piece to create a pocket. Place the chicken pieces on a large cookie sheet coated with nonstick spray.

Divide the spinach mixture between the chicken pieces. Then top with feta, olives and mozzarella. Carefully fold the "top" back over the chicken bottom, tucking in any loose filling as best you can. Season the tops of the chicken with salt, pepper and paprika.

Bake at 400 for 20 minutes or until the chicken juices run clear.  Serves 6.


Monday, April 11, 2022

Lemon Blueberry Scones


It's a beautiful, sunny day here today so it's time for some spring-themed baking! These lemon blueberry scones will have you singing like a birdie, they are so good! Here's a close up to entice you:


They would be perfect for Easter morning, or for any morning actually. They are just the right blend of tartness from the lemon and sweetness from the blueberry, and they aren't all dry and craggy like some scones. The cup of buttermilk ensures that these are just plain downright delicious.

Look at these beauties, straight from the oven:


An easy lemony glaze tops these scones, which takes them over the top. Once the scones are cool, I like to place the wire rack right over the cookie sheet so I can glaze away with abandon and not worry about the mess on my counter. 


You will definitely feel spring in the air when you make these scones. Even if it IS going to snow AGAIN later this week. Grrr. 


Lemon Blueberry Scones
2 1/4 cups flour
2 Tbsp. sugar
2 1/2 tsp. baking powder
1/2 tsp. baking soda
1/2 tsp. salt
1 Tbsp. lemon zest
1/2 cup cold butter, cubed
1 cup buttermilk
1 cup blueberries

Glaze:
2 Tbsp. lemon zest
1 -2 tsp. lemon juice
1 cup powdered sugar


For the scones:

In the bowl of your food processor, pulse together the flour, sugar, baking powder, baking soda, salt, and lemon zest.  Add in the cubed butter, and pulse until mixture is crumbly. You still want some small, pea-sized chunks of butter, so check it after you've pulsed a few times! Transfer to a large bowl. 

If you don't have a food processor, combine the dry ingredients in a bowl, and using a pastry blender or your fingers, cut in butter until mixture is crumbly. 

Add the buttermilk and stir with a fork to make a soft, sticky dough. Lightly flour your hands and gather the dough, making a ball as best you can! Knead this about 10 times on a lightly floured service. 

Then fold in the blueberries. This will be tricky, but do your best. 

Press out the dough until it is 1" thick.

Using a 2-½ inch cutter, cut out rounds. 

Place on ungreased baking sheet. Gather up any scraps and cut out more rounds.

Bake at 425 for 12 to 15 minutes or until golden. Transfer to a wire rack to cool completely. 

For the glaze:

Whisk 1 cup of powdered sugar with 2 Tbsp. of lemon juice and 1-½ tsp. lemon zest. Add more lemon juice until desired consistency.  Drizzle over the top of scones. 

Store in an airtight container. 


Powered by Blogger.