Wednesday, October 30, 2013

Chicken Vegetable Risotto


I love dreaming up new combinations for risotto. Risotto is such a fun thing to make, and a delicious thing to eat, and the combinations are seemingly endless. Since I like to have a lot of colors in my food, this time I devised a risotto featuring bell peppers and snow peas. But you don't need to be limited to my choices! You could use any combination of vegetables that you like - asparagus, broccoli, etc. - just use what's in season and easily available to you.

As with all risottos, the key is a long stirring process with the gradual addition of a stock - since chicken is our meat in this version, we'll use chicken stock. Bring the stock to a simmer in a large saucepan, then reduce the heat to low and keep warm.

Season the chicken with salt and pepper, then heat a large skillet or dutch oven over high heat. Add olive oil and when it's hot, add the diced chicken.


Cook until browned on all sides, and cooked through, 3-4 minutes. Remove the chicken to a small bowl.

Bring the pan back to medium high heat and add the butter. Add green onions and bell pepper.


When vegetables are slightly browned, lower the heat to medium-low, add the rice, and stir well.


When rice is toasted, add the wine and stir well to deglaze the pan.


Add about 1/2 cup of broth to the pan,


and stir frequently. When most of the liquid is absorbed,


add another 1/2 cup broth (I usually use a ladle to make this easy, but I was pouring right out of the measuring cup this time). Continue adding broth and stirring frequently until rice is al dente, about 25 minutes.

Within the last 2-3 minutes of stirring, add back in the chicken,


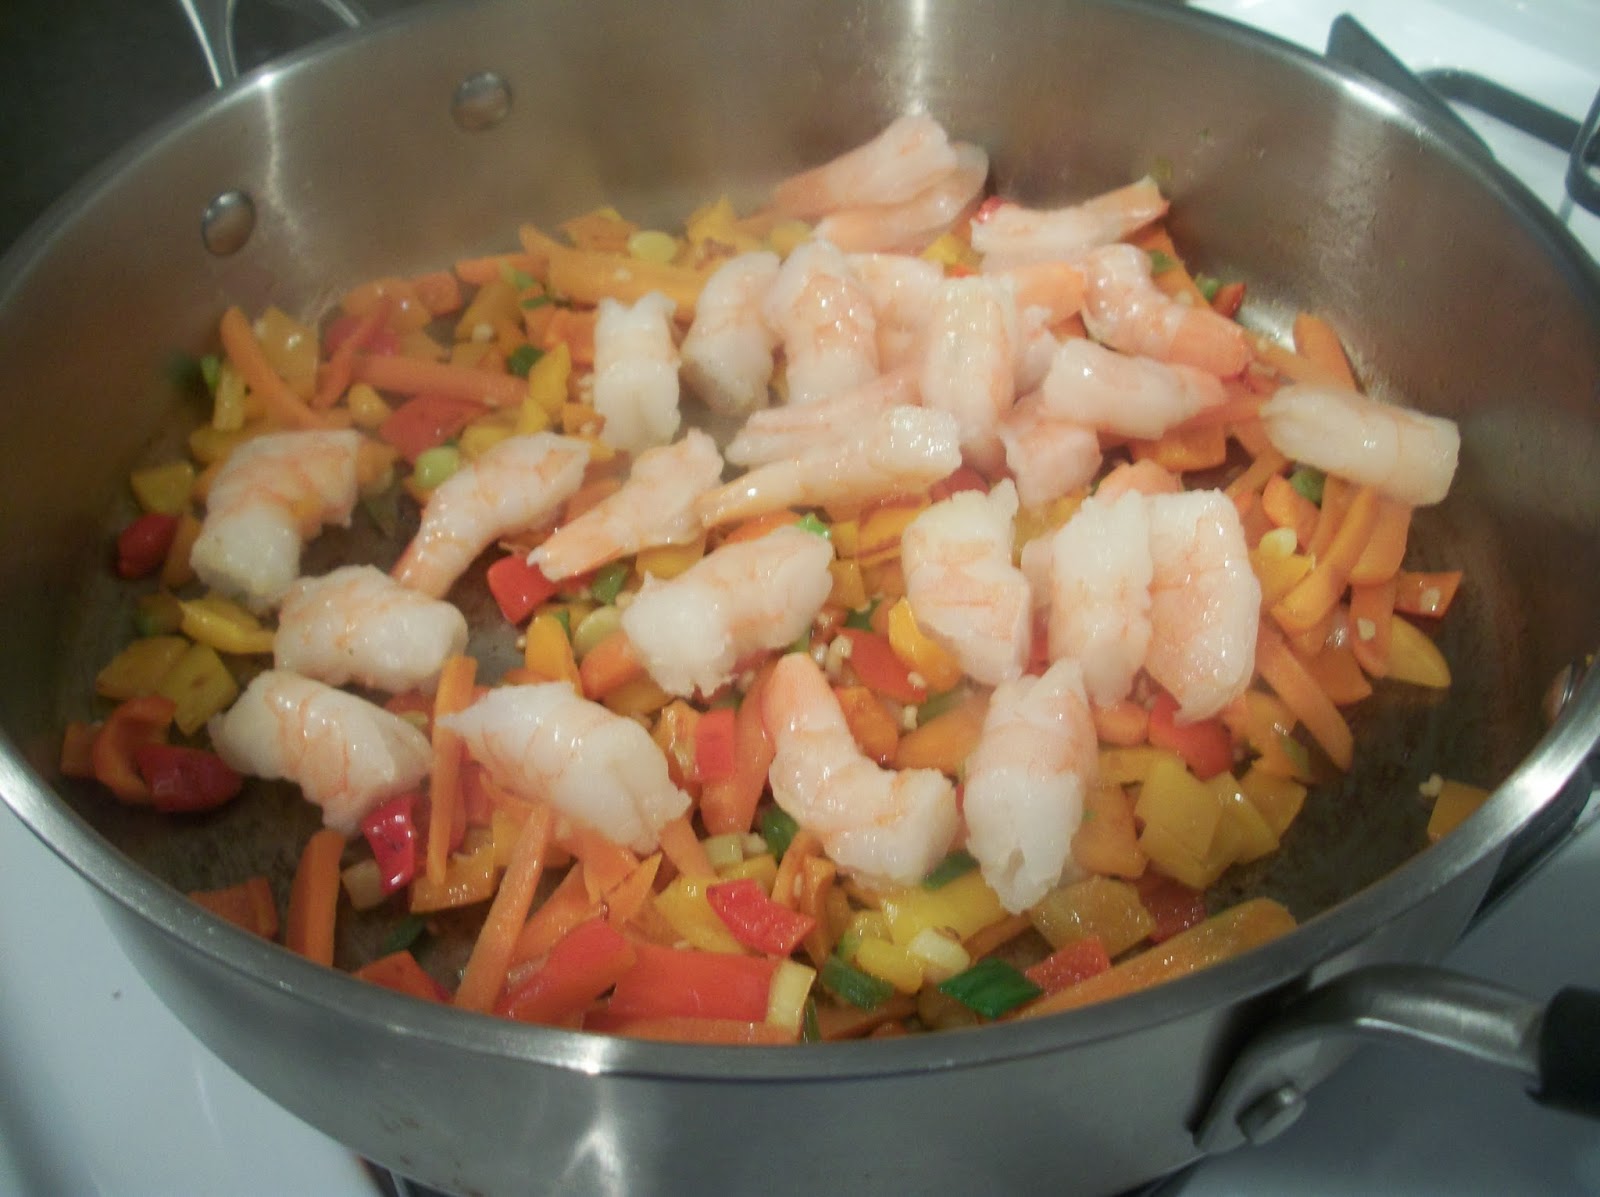
then add in the snow peas.


Lastly, stir in the Parmesan cheese just before serving.


Delicious!


One year ago: Greek Layered Dip
Two years ago: Winter Squash and Apple Soup
Three years ago: Caramel Pear Pie
Four years ago: Wisconsin Cheddar Cauliflower Soup

Find more great ideas at Hearth and Soul, What's Cooking, Wednesday Extravaganza, What's Cooking (#2), What I Whipped Up, Full Plate Thursday, Showcase Your Talent, Foodie Friday, Foodtastic Friday, Foodie Friday #2, Friday Flash, TGIF.

Chicken and Vegetable Risotto

2 chicken breasts, diced
1 Tbsp. olive oil
2 Tbsp. butter
4-5 green onions, sliced
1 bell pepper, diced
2 1/2 cups arborio rice
1/2 cup dry white wine
5 cups chicken broth
1 cup snow peas, halved
1/2 cup freshly grated Parmesan cheese

Bring the chicken broth to a simmer in large saucepan, then reduce the heat to low and keep warm.

Season chicken with salt and pepper. Heat a large skillet or dutch oven over high heat. Add olive oil and when oil is hot, add diced chicken. Cook until browned on all sides, and cooked through, 3-4 minutes. Remove the chicken to a small bowl.

Bring the pan back to medium high heat and add the butter. Add green onions and bell pepper. When vegetables are slightly browned, lower the heat to medium-low, add the rice, and stir well. When rice is toasted, add the wine and stir well to deglaze the pan.

Add about 1/2 cup of broth to the pan, and stir frequently. When most of the liquid is absorbed, add another 1/2 cup broth (I use a ladle to make this easy). Continue adding broth and stirring frequently until rice is al dente, about 25 minutes.

Within the last 2-3 minutes of stirring, add in the snow peas. Lastly, stir in the chicken and Parmesan cheese just before serving. Serves 6.

Monday, October 28, 2013

Shrimp Lettuce Wraps


Lest you think we only eat desserts around here, I thought I better post a recipe for a main meal. Similar to the exceedingly delicious chicken lettuce wraps, this shrimp version is a healthy salad-like meal, but just more fun. There's a long list of ingredients here, but don't let that scare you. This is a super-fast stir fry preparation, and all the different sauces work beautifully together to flavor the shrimp and complement the crunchy veggies.

Start by making the sauce: in a measuring cup or small bowl, combine the chicken broth, hoisin sauce,


soy sauce, rice vinegar,


sesame oil, chili garlic sauce,


and cornstarch. Give it a good whisking, then set aside while you stir fry the veggies. I love all the colors of the chopped veggies!


In a large skillet, the oil over medium-high heat. Add the garlic, bell pepper, green onions, and carrots. Stir fry until tender-crisp, about 2 minutes. Add the shrimp to the pan.


Add the sauce mixture


and stir-fry until the shrimp is thoroughly coated, about 1 minute.

Toss in the cilantro


and cashews.


Spoon the shrimp mixture evenly onto lettuce leaves.


One year ago: Pumpkin Waffles
Two years ago: Winter Squash and Apple Soup
Three years ago: Fish with boursin cheese and tomato sauce
Four years ago: Maple Glazed Pork Tenderloin

Find more great ideas at Mouthwatering Monday, Inspiration Monday, Mix it Up Monday, Melt in Your Mouth, Recipe Sharing, Totally Tasty Tuesday, Tasteful Tuesday, Tuesday Talent Show, Clever Chicks, Try a New Recipe, Share Your Stuff, All my Bloggy Friends, Food on Friday.

Shrimp Lettuce Wraps

1 head lettuce (I like boston, bibb, romaine etc)
1/4 cup chicken broth
1 Tbsp. hoisin sauce
1/2 Tbsp. soy sauce
1 tsp. rice vinegar
1/4 tsp. sesame oil
1/2 tsp. chili garlic sauce
1/2 Tbsp. cornstarch
1/2 Tbsp. canola oil, divided
1/4 cup cashews, coarsely chopped
6 oz cooked shrimp, cut into small cubes
1 large garlic clove, minced
1 medium red pepper, seeded and diced
3 green onions, the white and green, sliced
1/8 cup chopped cilantro
1/4 cup shredded carrots

Divide the lettuce into leaves and set aside.

In a small bowl, whisk together the chicken broth, hoisin sauce, soy sauce, rice vinegar, sesame oil, chili garlic sauce, and cornstarch. Set aside.

In a large skillet, heat the oil over medium-high heat. Add the garlic, bell pepper, green onions, and carrots. Stir fry until tender-crisp, about 2 minutes.

Add the shrimp then the soy-sauce mixture and stir-fry until the shrimp is thoroughly coated, about 1 minute. Toss in the cilantro and cashews.

Spoon the shrimp mixture evenly onto lettuce leaves.

Recipe Source: Fit, Fun and Delish

Wednesday, October 23, 2013

Pumpkin Gingerbread


Will there ever be a lack of yummy pumpkin recipes? I hope not. Each year, I seem to find new ones to try and I am never disappointed. Especially not with this delicious bread - pumpkin with lots of fragrant spices, including abundant ginger, makes for a wonderful (and easy!) quick bread that is a special breakfast treat (or anytime of day treat).

In a large mixing bowl, combine the sugar, eggs, and yogurt


and beat until smooth. Add the water and mix well. Add the pumpkin, ginger, cinnamon,


allspice,


nutmeg


and cloves and beat well. Add the flour, baking soda, baking powder and salt, and mix just until all ingredients are incorporated. Transfer batter to two greased loaf pans.


Bake for about an hour or until a toothpick inserted near the center of the bread comes out clean.


Cool in the pan on a wire rack for about a half hour, then remove from the pan and allow to cool completely.

One year ago: Crockpot Chicken Marsala
Two years ago: Cranapana Bread
Three years ago: Garlic-Herb Orzo Pilaf
Four years ago: Blueberry Pecan Cake

Get more great ideas at Hearth and Soul, Cast Party, What's Cooking, Wednesday Extravaganza, What's Cooking #2, What I Whipped Up, Full Plate Thursday, Showcase your Talent, Foodie Friday, Friday Flash, Food on Friday, TGIF, Friday Food Frenzy, Foodie Friday (#2), Fall into the Holidays.

Pumpkin Gingerbread

3 cups sugar
1 cup plain yogurt
4 eggs
2/3 cup water
1-15 oz. can pumpkin puree
3 tsp. ground ginger
1 tsp. ground allspice
1 tsp. ground cinnamon
1 tsp. ground cloves
3 1/2 cups flour
2 tsp. baking soda
1 1/2 tsp. salt
1/2 teaspoon baking powder

In a large mixing bowl, combine sugar, yogurt and eggs; beat until smooth. Add water and beat until well blended. Mix in pumpkin, ginger, allspice, cinnamon, and cloves.

In a medium bowl, combine flour, soda, salt, and baking powder. Add dry ingredients to pumpkin mixture and blend just until all ingredients are incorporated. Divide batter between 2 greased 9x5 loaf pans.

Bake at 350 until toothpick comes out clean, about 1 hour. Cool in the pan on a wire rack for half hour, then remove from the pans to cool completely. Makes 2 loaves, 12 servings each.

Recipe Source: Adapted from stockpiling moms

Monday, October 21, 2013

Caramel Banana Upside Down Cake


It's that time again - Secret Recipe Club Reveal Day. This month I had the privilege of baking from Denise's blog, From Brazil to You, which is full of Brazilian specialties (as you might guess from the title) and other yummy options. It didn't take me long to pick my recipe - since I love anything banana and anything with a caramel sauce, it had to be this Banana Upside Down Cake! Although mine stuck to the pan a little (oops!) it was still absolutely delicious.

This cake has a few steps, but we'll start by making the cake batter. Cream together the butter and sugar, then add the vanilla.


Mix until blended, then add the egg yolks, one at a time, and beat well after adding each.


Combine the flour, baking powder and salt in a medium bowl, and add the flour mixture to the batter alternately with the milk.


Now in a separate small bowl, beat the egg whites until frothy. Add the cream of tartar,


and beat on medium until the egg whites form stiff peaks. Gently fold the egg whites into the cake batter.


Now, make the caramel topping. Combine the butter, brown sugar,


cinnamon, nutmeg


and cloves in a small saucepan. Heat over medium low heat, stirring constantly, until the butter is melted. Then continue to cook without stirring until the sugar carmelizes and forms little bubbles on the edge.


Pour the caramel sauce into a greased 9-inch round cake pan.


Top with sliced bananas,


then with the cake batter.


Bake for 45 minutes or until a toothpick comes out clean. Cool the cake on a wire rack for 10 minutes, then carefully run a knife around the edge of the cake and invert onto a serving platter.


Serve with ice cream, or plain - it's delicious either way!


One year ago: Roasted Brussels Sprouts with Maple and Cayenne
Two years ago: Double Berry Banana Muffins
Three years ago: Pumpkin Cake Roll
Four years ago: Double Corn and Potato Chowder

Find more great ideas at Mouthwatering Monday, Inspiration Monday, Mix it Up, Melt in Your Mouth, Recipe Sharing, Totally Tasty Tuesday, Tasteful Tuesday, Talent Show, Clever Chicks, Try a New Recipe, Share Your Stuff, All my Bloggy Friends.

Caramel Banana Upside Down Cake

Cake:
1-1/2 cups flour
2 tsp. baking powder
1/4 tsp. salt
1/2 cup butter, softened
1 cup sugar
1 Tbsp. vanilla
2 eggs, separated
1/2 cup whole milk
1/4 tsp. cream of tartar

Caramel Banana layer:
4 Tbsp. butter, cut in small pieces
3/4 cup brown sugar
1/2 tsp. cinnamon
1/8 tsp. nutmeg
A dash of ground cloves
1/4 tsp. vanilla
2 large ripe but firm bananas, sliced diagonally 1/4 inch thick

In a medium bowl, sift together the flour, baking powder, and the salt.

Using an electric mixer, beat the butter and sugar in a large bowl until light and fluffy. Then, beat in the vanilla extract. Next, add the egg yolks, one at a time, beating well after each addition. Add the flour mixture, alternating with the milk in three additions.

In a separate clean and dry stainless steel bowl, whisk the egg whites at low speed until frothy. Add the cream of tartar. Then, beat at medium speed, increasing the speed gradually to high until the whites form a firm peak. With a large rubber spatula gently fold the beaten egg whites into the cake batter.

For the caramel layer, place the butter, brown sugar, cinnamon, nutmeg and cloves in a small saucepan and stir over medium heat until butter melts and the sugar has dissolved. Without stirring, continue cooking for a few more minutes or until bubbles just start to form around the outside edges of the mixture. Then remove from heat, add the vanilla, and stir.

Pour caramel into a greased 9" round cake pan. Evenly arrange the sliced bananas on top of the caramel. Pour the cake batter into the caramel-and-banana lined cake pan. Smooth the top.

Bake at 350 for about 45 minutes, or until a toothpick inserted into the center of the cake comes out clean (the top of the cake will have browned and also will start to pull away from the sides of the pan).

Remove from oven. Place on a wire rack to cool for approximately 10 minutes. Run a small metallic icing spatula or a sharp knife around the edge of the pan. Invert the banana upside down cake onto a serving plate. Serve warm with vanilla ice cream. Serves 8.


Thursday, October 17, 2013

Pumpkin Angelfood Cake


This is a delightful fall dessert that won't make you feel guilty at all, even after eating two pieces. Pumpkin flavored angelfood is filled and topped with a ginger scented whipped cream - perfect for this month's Improv Challenge of cake and frosting!

If you want to, you can use a homemade angelfood base, but for convenience I used a boxed mix. In my (short) experience of making angelfood cakes, I have found there are two varieties - one has everything in one bag inside the box, and the other has two separate bags, one with an egg white mixture and one with a cake mixture. Be sure you know which mix you have, because it DOES make a difference. (Don't ask me how I know.)

If you have the kind that is divided, mix the egg white packet with 1 cup water (NOT what's called for on the box!) and beat until stiff peaks form. It should look like this when you lift the beaters.


Now carefully add the pumpkin pie spice,


pumpkin,


and the cake batter mix along with a tablespoon of flour and mix until well combined. (If your cake mix box only has one packet, simply combine the water, cake mix, flour, pumpkin and pumpkin pie spice and beat until well combined.) Pour into an ungreased tub pan.


Bake the cake on the lowest rack in the oven for 40-47 minutes or until it is deep golden and the cracks on top are dry.


Immediately tip the cake pan on top of a glass bottle (maybe your favorite fall drink?)


and let the cake cool for at least two hours. Run a large knife around the edge of the cake pan to loosen it, then remove from the outside pan, and carefully use a knife to separate the cake from the tube section.


To make the filling/frosting, combine the powdered sugar and whipped cream


and beat on high until stiff. Fold in the chopped crystallized ginger.


Carefully cut the cake into two halves.


Spread half the filling on the cake bottom,


top with the other half of the cake,


and top with remaining frosting. Sprinkle with additional pumpkin pie spice.


Cake, frosting, pumpkin, whipped cream, what could be better?


One year ago: Chicken Gnocchi Soup
Two years ago: Caramel Cracker Bars
Three years ago: Pumpkin Cake
Four years ago: Cranberry Gingerbread Muffins

See more cake and frosting ideas below. And get more inspiration at Full Plate Thursday, Showcase your Talent, Foodie Friday, Friday Flash, TGIF, Friday Food Frenzy, Foodie Friday (#2), Food on Friday.

Pumpkin Angelfood Cake

Cake:
1 box (1 lb) white angel food cake mix
1 Tbsp. flour
1 1/2 tsp. pumpkin pie spice
3/4 cup pumpkin puree
1 cup cold water

Ginger-Cream Filling:
2 cups whipping cream
1/4 cup powdered sugar
2 Tbsp. finely chopped crystallized ginger

In large bowl, beat cake ingredients with electric mixer on low speed 30 seconds. Beat on medium speed 1 minute. Pour into ungreased 10-inch angel food (tube) cake pan. (Note: if your cake mix has two separate packets - one of egg whites and one of cake batter, be sure to follow the directions on the cake mix box, but use only the water called for in this recipe.)

Place the pan on the lowest oven rack and bake at 350 for 40 to 47 minutes or until crust is dark golden brown and cracks are dry. Immediately turn pan upside down onto glass bottle. Let hang about 2 hours or until cake is completely cool. Loosen cake from side of pan with knife or long metal spatula. Turn cake upside down onto serving plate.

In chilled large bowl, beat whipping cream and powdered sugar with electric mixer on high speed until stiff. Fold in ginger. Cut cake horizontally in half to make 2 even layers. Spread half of the filling on bottom layer; replace top of cake. Spread remaining filling on top of cake. Sprinkle with additional pumpkin pie spice if desired.

Recipe Source: Betty Crocker


Powered by Blogger.