Showing posts with label breakfast. Show all posts

Friday, May 22, 2026

Lemon Raspberry Coffeecake


I just love the changing seasons for the new flavor profiles and produce availability. I also love that through the "miracle" of flash freezing, we can have berries year round! So if you want to make this beautiful and delicious cake next December, you can! But it is the perfect cake to make right now -- the lemon and raspberry combo just scream spring to me.


This has all the perfect elements of a decadent, yet easy mid morning treat. Bright lemon cake, perfect raspberries distributed throughout, 


a delicious and crunchy crumb topping that is a wonderful complement to the cake, and then a lemony drizzle to really make it pop.


I made this for an event at church and it got rave reviews. It is so delicious and also so pretty on a plate. 


You will definitely impress your family and your guests with this cake. Happy Spring!


Lemon Raspberry Coffeecake

Cake:
2 cups flour
2 1/2 tsp. baking powder
1/4 tsp. salt
1/4 cup milk
3/4 cup sugar
1/2 cup sour cream or plain Greek yogurt
1/4 cup butter, softened
1 egg
2 Tbsp. lemon juice
1/2 tsp. lemon extract
1 Tbsp. lemon zest
1 1/2 cups fresh or frozen raspberries

Crumb topping:
1 cup sugar
2/3 cup flour
6 Tbsp. cold butter

Glaze:
1/2 cup powdered sugar
1 Tbsp. lemon juice

For the cake, in a medium bowl, combine flour, baking powder, and salt. Set aside. 

In a large bowl, use a mixer to cream together the sugar and butter. Add milk, sour cream, egg, lemon juice, lemon extract, and zest. Mix until smooth and creamy.

Add dry ingredients
 and mix just until blended. Batter will be thick. Gently fold in raspberries.

Spoon batter into a greased 9-inch springform pan. 

For the topping, combine the sugar and flour in a medium bowl. Cut the butter into small chunks, then use your fingers, two forks, or a pastry blender to cut butter in until the mixture comes together in small clumps. 

Sprinkle the crumb topping over the cake.

Bake at 350 for 50-55 minutes or until a toothpick comes out clean.

Place on a wire rack to cool. Cool at least 30 minutes before removing the sides of the pan.

For the glaze, whisk together the powdered sugar and lemon juice. When cake is completely cool, drizzle the glaze over the top of the cake.

Thursday, April 2, 2026

New York Crumb Cake


I'm not sure why this is called New York Crumb Cake. But once you taste it, you won't care what it's called. You will just call it amazingly delicious. Soft cakey layer topped with so much crumble - you definitely need a big cup of coffee or a tall glass of milk with this one. This would be a great addition to an Easter brunch, or for breakfast before church. 

Start out by making the cake layer which is pretty straightforward. It will seem like you don't have enough batter but just keep spreading it out in the pan. You can see I barely got mine to the corners!


Next comes the crumb layer. Mix all the ingredients in a small bowl, and combine with a pastry blender or just your fingers. I find it easier to use clean hands (ahem, clean is important) because you can get a sense when you've got the right texture. You want the butter to be incorporated but you want some larger chunks, too. 


Now sprinkle this over the batter. Compared to the batter, it will seem like you have WAY TOO MUCH crumb topping. That's ok. Just keep sprinkling it on top! You will love the results even though it will seem like you're drowning the cake in the crumb topping!


Bake the cake, then sprinkle with powdered sugar. I let this cool completely before serving, cause I prefer a crispier top, but you can serve it warm as well.


Enjoy!


New York Crumb Cake

Cake:
1 1/2 cups flour
1/2 cup sugar
2 1/2 tsp. baking powder
1/2 tsp. salt
1 egg
1/2 cup whole milk or half and half
2 Tbsp. avocado or vegetable oil
2 tsp. vanilla

Crumb topping:
2 1/2 cups flour
Powdered sugar, for sprinkling after baking
1 cup brown sugar
1 1/2 tsp. cinnamon
1 cup butter, melted and cooled


For the cake, combine the flour, sugar, baking powder and salt in a large bowl. Stir to mix the ingredients; set aside. In another bowl or large measuring cup, combine the egg, milk, oil and vanilla. Whisk well, then add to the dry ingredients. Stir with a wooden spoon or spatula until the batter comes together and there are no flour streaks. 

Spread the batter into a greased 9x13 pan.

For the crumb topping, combine the flour, brown sugar, and cinnamon in a large bowl. Add the melted butter and combine with a pastry blender or your fingers until the butter is incorporated and you have soft, heavy crumbs. Sprinkle over the batter.

Bake at 325 for 22-30 minutes. Mine took almost 30 - you want the crumb topping to begin to feel dry to the touch. Let cool then sprinkle with powdered sugar before serving. Makes at least 16 servings.


Monday, July 21, 2025

Peach Streusel Muffins


Have you had peaches this year? They are SO GOOD. So far, I'm doing a great job at eating them all before they're over ripe, but I often have eyes that are bigger than my stomach when it comes to buying produce. That's when a recipe like this comes in handy! 


These muffins just scream summer. (Well they would if they could scream.) They are a decadent start to the day, or a great coffee break addition. I made them to celebrate a colleague's birthday, and they were a huge hit.

These muffins not only have peaches IN the batter, but you save some out and top each muffin with more peaches! 


Then every muffin gets a handful of streusel, and we all know that streusel makes everything better. 


But we're not done yet - after these beauties bake, they are covered in a delicious glaze! It doesn't get much better than this. (I always put paper towels under my baking racks when putting glaze on muffins - easy clean up!)


Get yourself some peaches - and buy plenty - so you can eat some and use some for these muffins. You will be glad you did.


Peach Streusel Muffins
Muffins:
2 cups flour
3 tsp. baking powder
1/2 tsp. salt
2  eggs 
1 cup sugar
1 cup Greek yogurt
1/2 cup oil
1 tsp. vanilla extract
2 and 1/3 cups peeled, chopped peaches, divided 
12 Tbsp. flour
Streusel:
1 cup all-purpose flour
1/4 cup sugar
1/4 cup brown sugar
3/4 tsp. cinnamon (or more to taste)
6 Tbsp. butter, melted
Glaze:
1 cup powdered sugar
12 Tbsp. milk
1/4 tsp. vanilla

For the streusel, in a small bowl, whisk together flour, sugar, brown sugar and cinnamon. Add melted butter and stir with a fork until crumbly. Refrigerate until ready to use.

For the muffins, in large bowl stir together flour, baking powder and salt. In a medium bowl whisk together sugar and eggs until combined. Whisk in yogurt, oil and vanilla. Fold wet ingredients into dry ingredients and whisk everything together.

Reserve 1 cup of peaches for topping. Place remaining peaches in a small bowl, dust with 1 tablespoon flour and toss them until all peaches are coated with thin layer of flour and then fold them really gently in the batter. Spoon batter into paper lined muffin tins, filling 2/3 of each cup. Cover the batter with the remaining peaches and press a handful of the crumb topping into the top of each muffin, crumbling the topping with your hands to make some big chunks.

Bake 5 minutes at 400 F degrees, then lower the oven temperature to 375 F degrees and bake for 15 minutes or until a toothpick inserted in the center comes out clean. Cool for 5 minutes in the pan then remove muffins and cool on a wire rack.

For the glaze stir together powdered sugar, vanilla and milk. Adjust the sugar and/or milk to achieve your desired consistency. Drizzle over muffins.

Wednesday, February 19, 2025

Chai Tea Bread (with Sourdough discard)


I am not a very good sourdough steward. Well I shouldn't say that. I'm good at using my starter discard for all sorts of fun stuff - like this bread! I'm just not great at using my sourdough starter to ACTUALLY make sourdough. 


But that's no matter. As long as I'm feeding the starter and using the discard so responsibly - like for this bread - it doesn't matter if I ever actually make sourdough, does it?


The answer is no. But who needs sourdough when you can make Chai Tea bread?  IT IS SO GOOD!!!!


This has a lot of chai tea flavor as you steep a tea bag in milk, and then you also add the contents of three other tea bags right into the batter! You won't need butter or jam or anything else on this bread - so much flavor. So much deliciousness, 

If I didn't have a sourdough starter, I would want one just so I could make this!


Chai Tea Bread

1 cup milk 
4 chai tea bags
2 cups flour
2 tsp. baking powder
1/2 tsp. salt
1/2 cup butter, room softened
3/4 cup sugar
2 eggs
2 tsp. vanilla
1/2 cup sourdough discard 


In a small saucepan, heat the milk until warm over medium heat. Do not boil. Remove from the heat and add 1 tea bag. Cover the pan, and let it steep for 10 minutes.

In a small bowl, mix flour, baking powder, salt, and the contents of the other 3 tea bags (that is, cut them open and dump the tea out into the flour mixture). 

In a large bowl, cream the butter and sugar until light and fluffy. Beat in eggs, one at a time. Add vanilla, the tea-steeped milk, and the sourdough starter, and beat well. 

Gradually add the flour mixture to the mixing bowl and beat well until combined.

Pour into a greased 9" loaf pan. Bake at 350 for 55-65 minutes or until a toothpick in the center comes out clean. Remove to a wire rack and cool for 20 minutes. Then remove the bread from the pan and return to the rack to o cool completely before serving. 

Friday, November 11, 2022

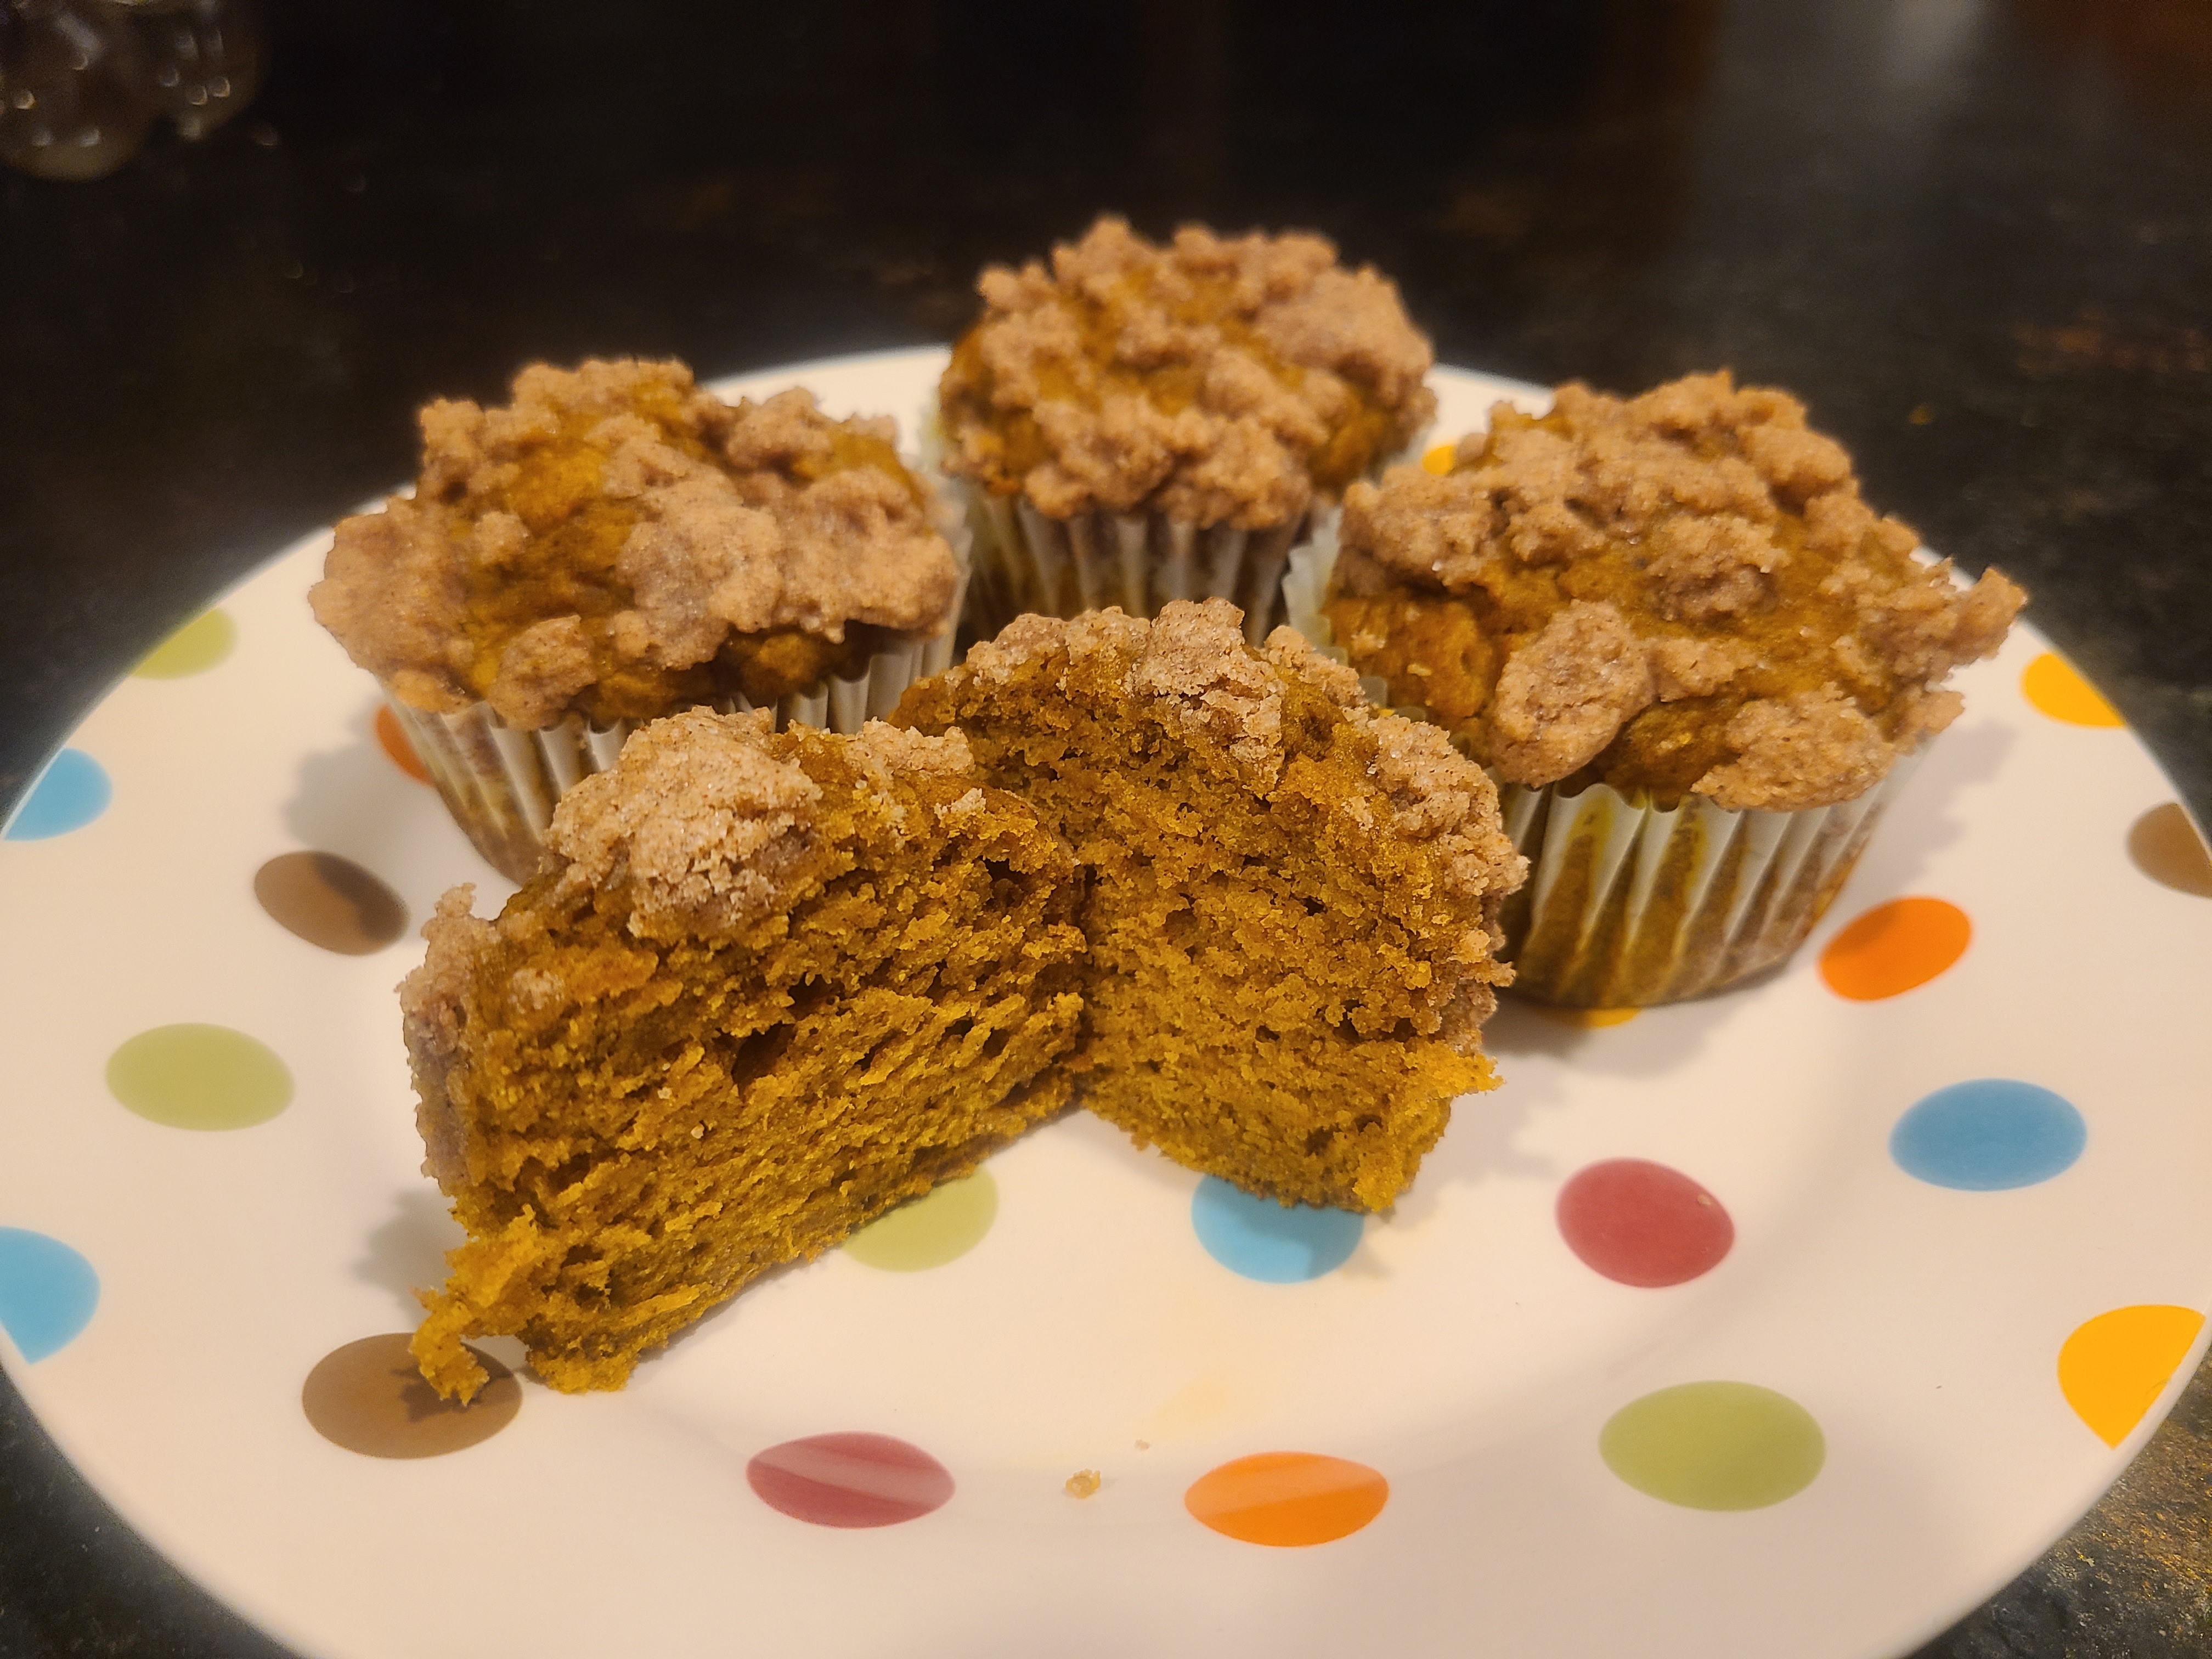
Pumpkin Snickerdoodle Muffins


Just look at these beauties! Pumpkin muffins (one of the best ideas ever) are topped with a cinnamon sugar, or as we could say, Snickerdoodle!, streusel. You will be hard pressed to find a better fall inspired breakfast or coffee snack.


This recipe combines a couple of my favorite things. Perhaps I have already given it away with the exclamation points but pumpkin! snickerdoodle! combined in a muffin! I love muffins because they are an excuse to eat cake for breakfast. 


This recipe is so easy to whip up - you just need two bowls, all the ingredients, a whisk and a spatula. And if you're fancy (or uncoordinated like me sometimes!) you could use a cookie scoop for measuring out the batter. But that's it! No fancy tools required, and hardly any time required. This recipe is fast and easy and OH SO DELICIOUS.

Get in that Thanksgiving spirit and make these muffins!


Pumpkin Snickerdoodle Muffins

1 - 15 oz. can pumpkin
1 cup sugar
1/2 cup vegetable oil
2 eggs
1 tsp. vanilla extract
1 3/4  cups flour 
1 Tbsp. pumpkin pie spice 
1 tsp. baking soda
1 tsp. baking powder
1/2 tsp. salt

Streusel:
1/2 cup flour
1/4 cup sugar
1 1/2 tsp. ground cinnamon
1/4 tsp. salt
1/4 cup butter, cubed

In a large bowl, whisk together the pumpkin, granulated sugar, oil, eggs and vanilla until well-mixed. Add the flour, pumpkin pie spice, baking soda, baking powder, and salt. Mix until just combined and no dry streaks remain. Fill paper-lined muffin cups with the batter, about 2/3 full for each. (This recipe makes about 16 muffins.)

In a medium bowl, stir together the flour, sugar, cinnamon and salt. Add the butter cubes and cut in with a pastry blender, a fork, or your fingers, until the mixture is evenly combined and crumbly.

Divide streusel evenly over the muffin batter. Bake the muffins at 350 for 18-25 minutes until the tops spring back lightly to the touch. Remove from the muffin tin and let cool completely on a cooling rack. Store any leftovers in a covered container at room temperature.

Recipe Source: Mel's Kitchen Cafe

Monday, April 11, 2022

Lemon Blueberry Scones


It's a beautiful, sunny day here today so it's time for some spring-themed baking! These lemon blueberry scones will have you singing like a birdie, they are so good! Here's a close up to entice you:


They would be perfect for Easter morning, or for any morning actually. They are just the right blend of tartness from the lemon and sweetness from the blueberry, and they aren't all dry and craggy like some scones. The cup of buttermilk ensures that these are just plain downright delicious.

Look at these beauties, straight from the oven:


An easy lemony glaze tops these scones, which takes them over the top. Once the scones are cool, I like to place the wire rack right over the cookie sheet so I can glaze away with abandon and not worry about the mess on my counter. 


You will definitely feel spring in the air when you make these scones. Even if it IS going to snow AGAIN later this week. Grrr. 


Lemon Blueberry Scones
2 1/4 cups flour
2 Tbsp. sugar
2 1/2 tsp. baking powder
1/2 tsp. baking soda
1/2 tsp. salt
1 Tbsp. lemon zest
1/2 cup cold butter, cubed
1 cup buttermilk
1 cup blueberries

Glaze:
2 Tbsp. lemon zest
1 -2 tsp. lemon juice
1 cup powdered sugar


For the scones:

In the bowl of your food processor, pulse together the flour, sugar, baking powder, baking soda, salt, and lemon zest.  Add in the cubed butter, and pulse until mixture is crumbly. You still want some small, pea-sized chunks of butter, so check it after you've pulsed a few times! Transfer to a large bowl. 

If you don't have a food processor, combine the dry ingredients in a bowl, and using a pastry blender or your fingers, cut in butter until mixture is crumbly. 

Add the buttermilk and stir with a fork to make a soft, sticky dough. Lightly flour your hands and gather the dough, making a ball as best you can! Knead this about 10 times on a lightly floured service. 

Then fold in the blueberries. This will be tricky, but do your best. 

Press out the dough until it is 1" thick.

Using a 2-½ inch cutter, cut out rounds. 

Place on ungreased baking sheet. Gather up any scraps and cut out more rounds.

Bake at 425 for 12 to 15 minutes or until golden. Transfer to a wire rack to cool completely. 

For the glaze:

Whisk 1 cup of powdered sugar with 2 Tbsp. of lemon juice and 1-½ tsp. lemon zest. Add more lemon juice until desired consistency.  Drizzle over the top of scones. 

Store in an airtight container. 


Monday, March 28, 2022

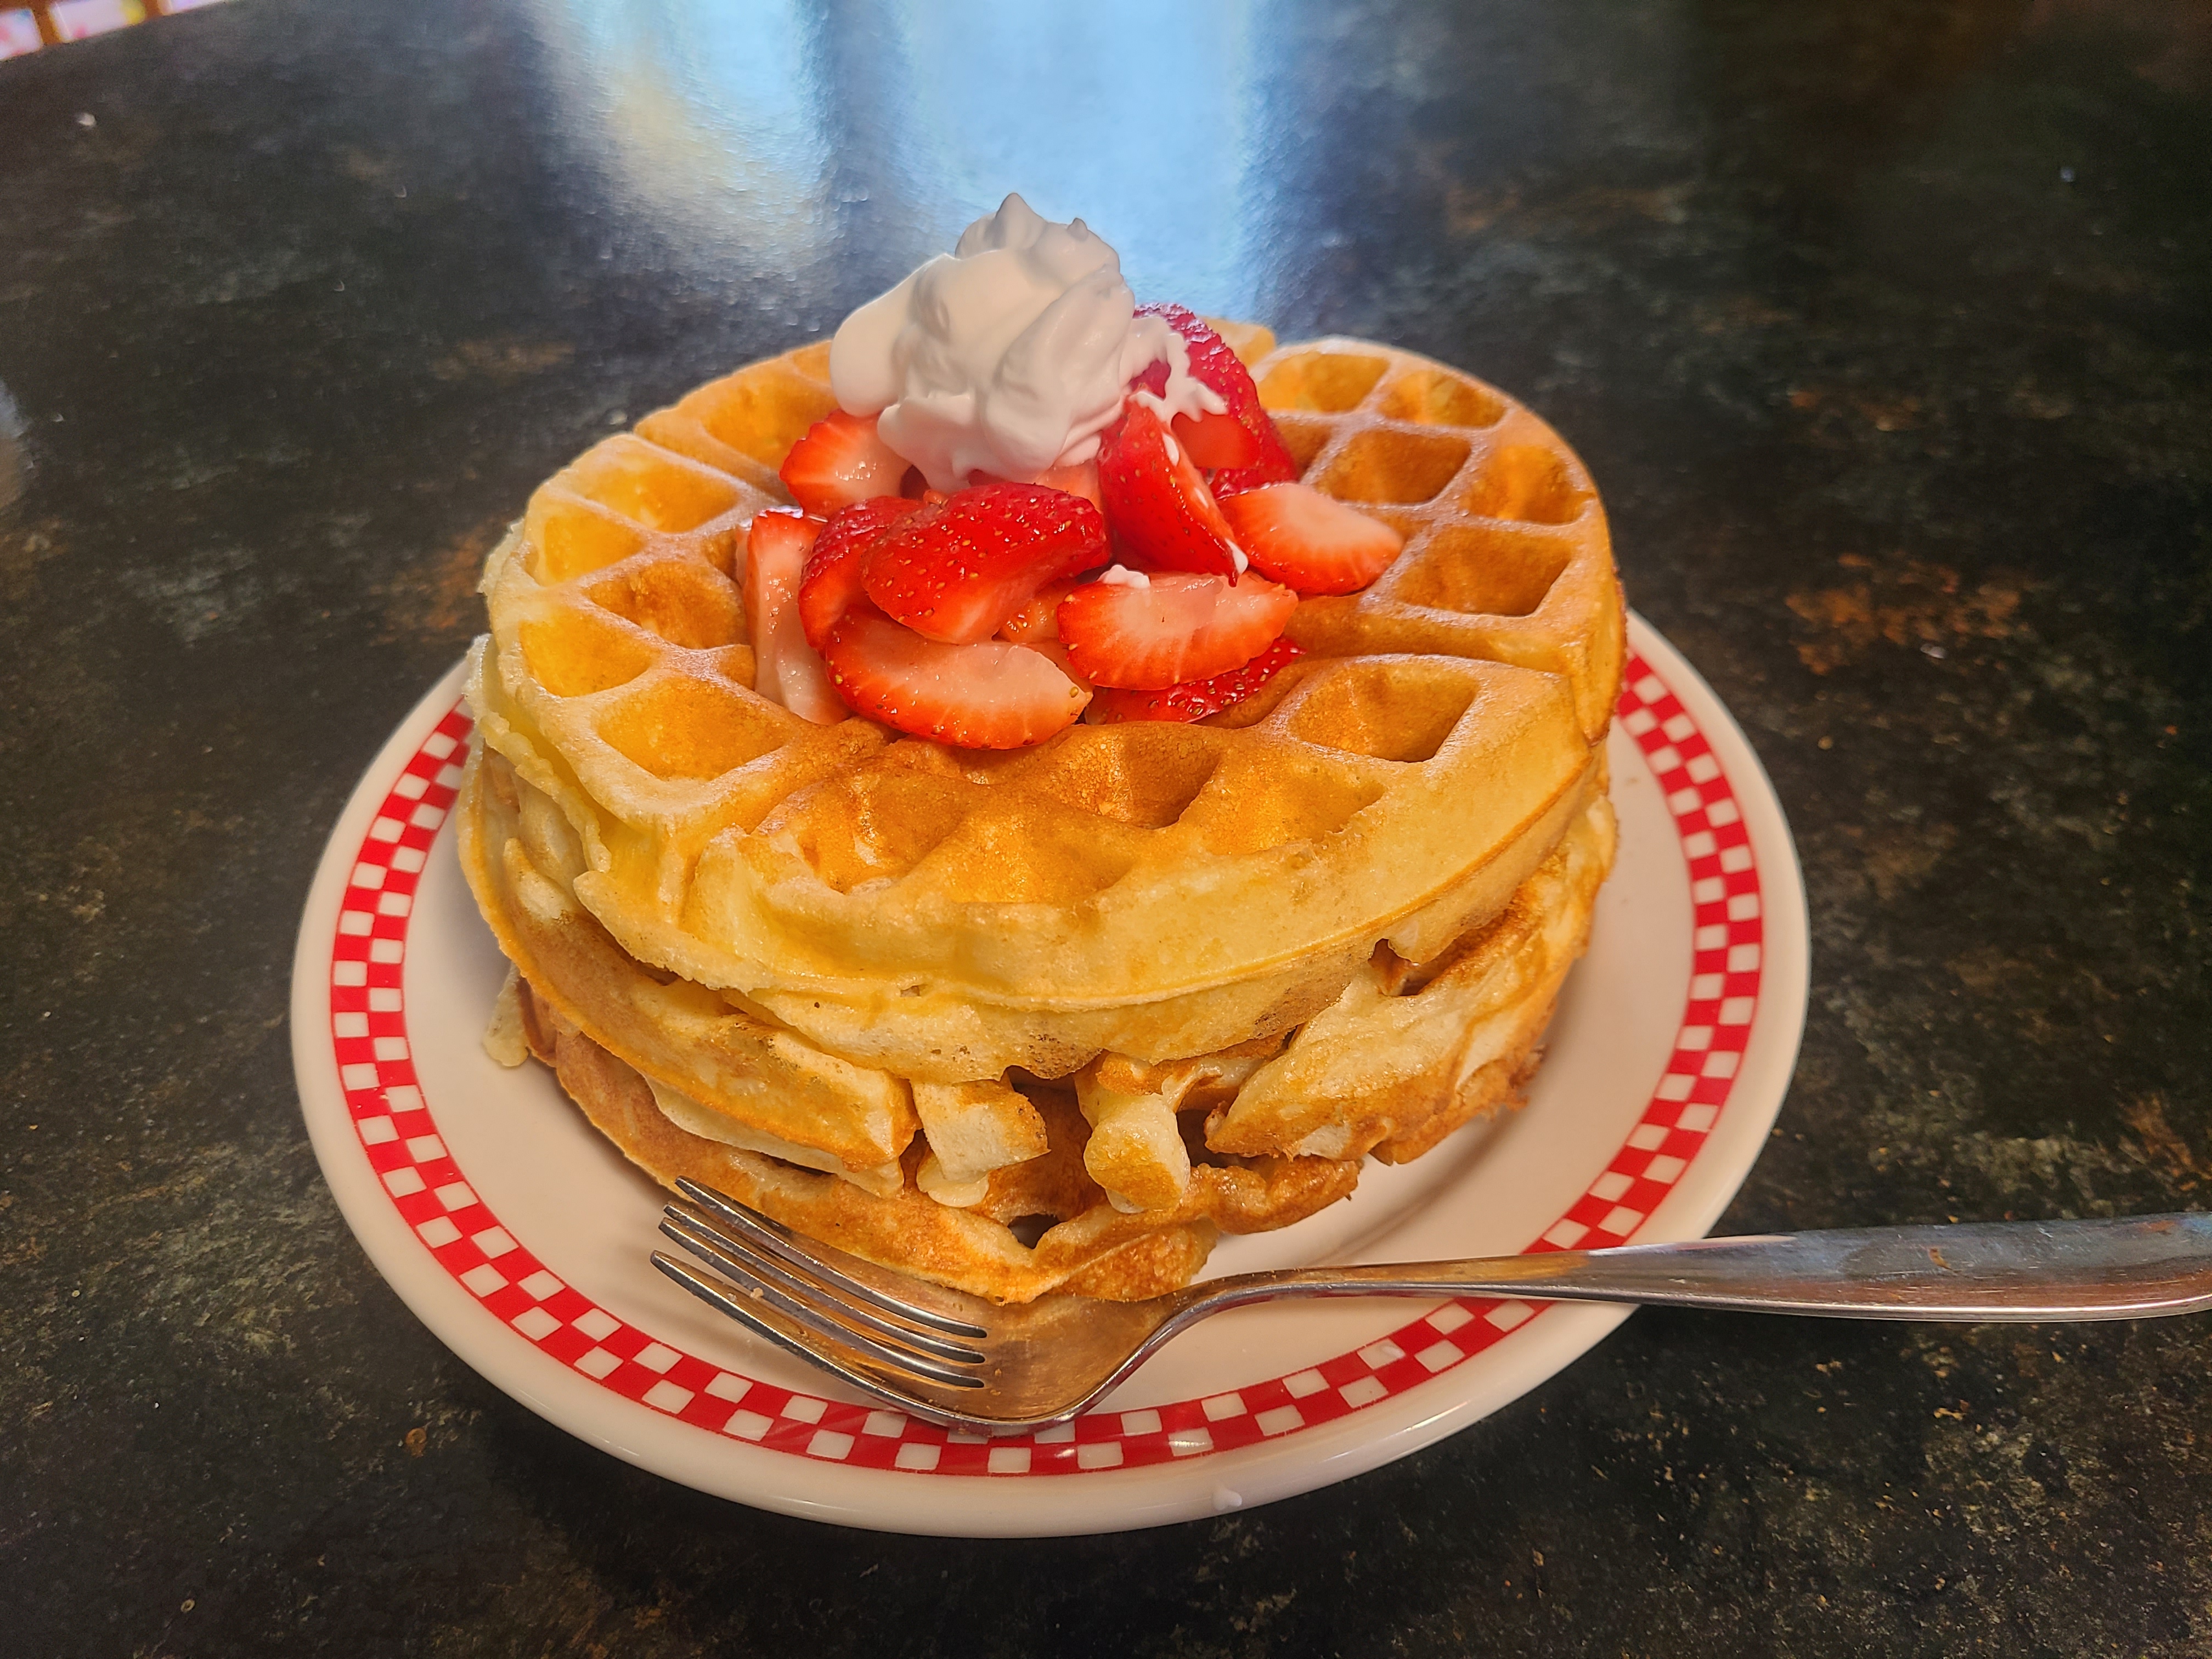
Sourdough Waffles


We love waffles at our house. They are a traditional Saturday or Sunday brunch (or lunch) item. (When you have teenagers, they call it breakfast. For me, it's lunch. Ha!) I almost always make my favorite oat waffles, and sometimes I change it up with bananas or pumpkin, but these.  These sourdough waffles.


These waffles are SO good. They truly melt in your mouth. And the overnight sponge gives them just enough sour flavor to be SO incredibly delicious. How many times can I capitalize SO? 

These do take an extra little bit of effort, since you prepare the sponge the night before, then let it sit out on the counter all night. This seems weird, especially with two cups of milk included, but it's what gives these waffles their outrageous lightness and flavor.


These also only work if you have a sourdough starter. I know. I really try to refrain from posting recipes that are too specialized, and this is one. However, if you don't have a friend to give you some starter, you can make your own. I assure you that it will be worth it! Plus once your starter is activated and ready to go, you can make bread, too! I've been making our sourdough bread and it's SO good. (There I go again with the capital SO.)


Make these waffles and have a great day, or weekend. You'll still be thinking about them hours and days later, I promise!

Sourdough Waffles

Sponge:
2 cups flour
2 cups buttermilk
1 cup sourdough starter (discard is fine too!)
2 Tbsp. sugar

Batter:
2 eggs
1/4 cup vegetable oil
3/4 tsp. salt
1 tsp. baking soda

For the sponge, in a large bowl or batter bowl, combing the flour, sugar and buttermilk and whisk well. Stir in the starter, then cover and let sit in a cool place (or on the counter if your house is not above 70!) for 8-12 hours. 

(If there is a time lapse between the 12 hours and making the waffles, it's ok to stick the batter in the fridge. For example, I made the sponge on Saturday night, put in the fridge 12 hours later, then returned from church to finish the recipe.)

Add the eggs, oil, salt and baking soda to the sponge and stir well to combine. It will also "grow" because of the baking soda, so hopefully your bowl was big enough!  

Pour the batter onto a preheated waffle iron. Note that sourdough waffles spread quite a bit, so you might want to use less than "normal."  Cook according to your waffle maker's guidance.  Enjoy with syrup, berries and cream, or your favorite toppings!


Powered by Blogger.